
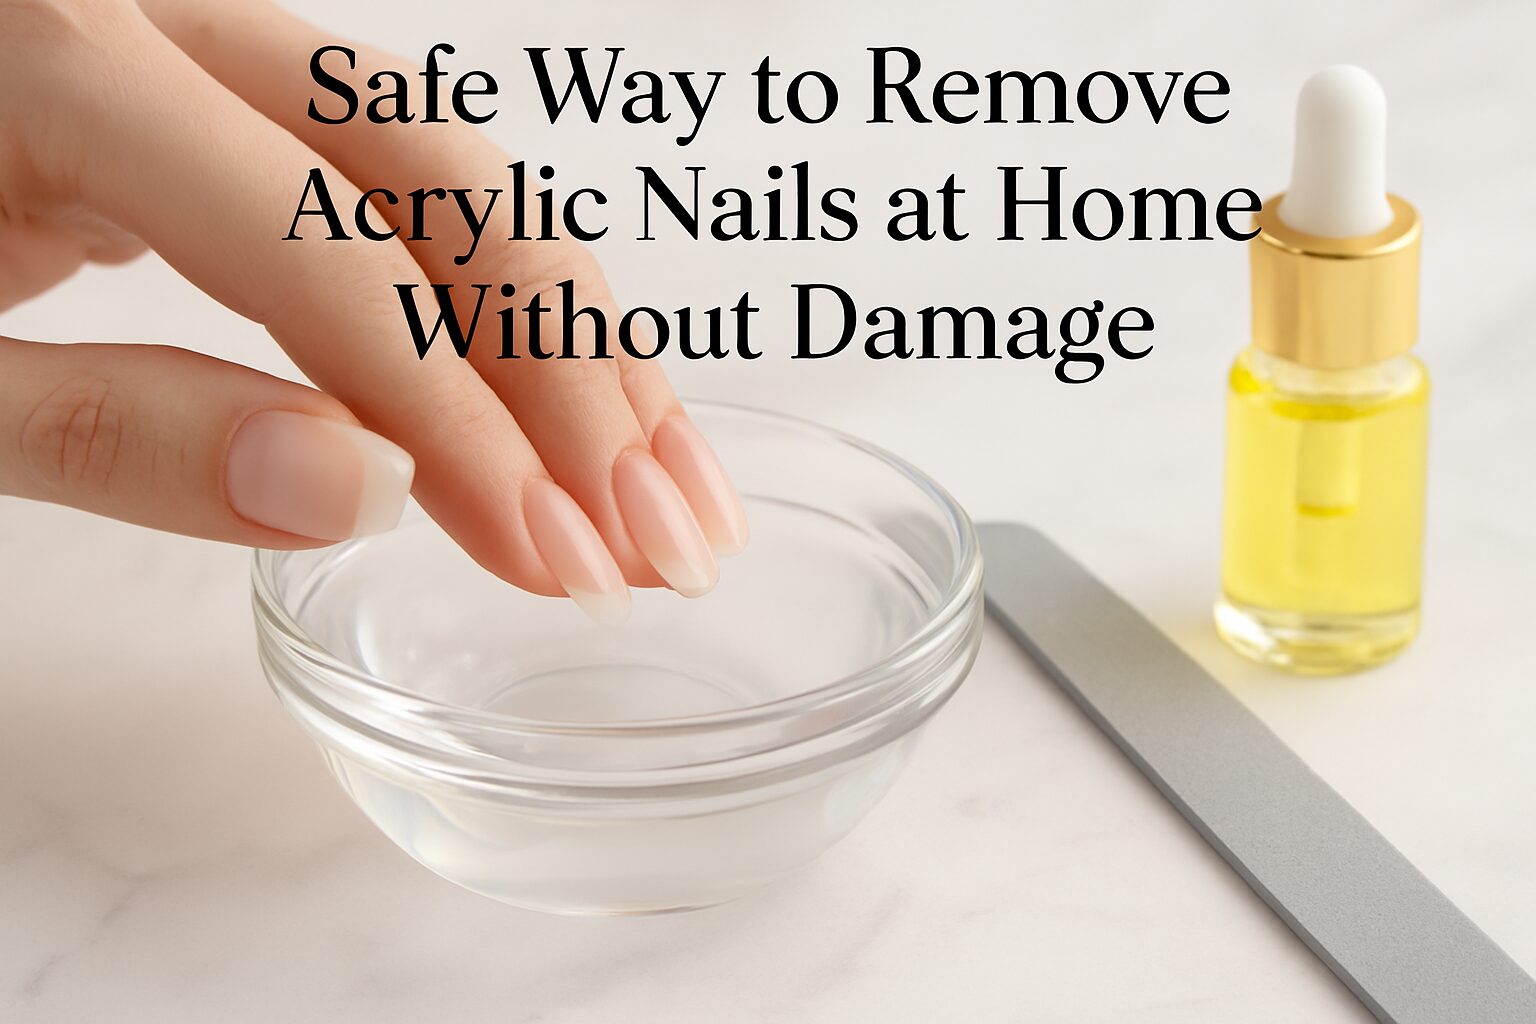
If you need to remove acrylic nails at home without damage, the most important thing to know is this: never pull, pry, or force them off.
Acrylics bond tightly to the natural nail. Ripping them off tears layers of your nail plate with them. That leads to thin, painful, damaged nails that can take months to recover.
The right removal method is simple. It just takes patience.
In this guide, you’ll learn how to remove acrylic nails at home without damage safely, step by step.
Why Safe Removal Matters
Acrylic nails use a strong chemical bond to stay attached. That bond doesn’t just sit on top of your nail — it grips the surface tightly.
When you force acrylics off without softening that bond first, you lose layers of your natural nail plate. The damage includes:
- extremely thin nails
- white spots and rough texture
- peeling and flaking for weeks
- pain and sensitivity
- increased risk of nail splitting
If you want to keep wearing acrylics or try other nail options in the future, protecting your natural nails now is essential.
Learning how to remove acrylic nails at home without damage saves your nails from unnecessary harm.
Two Safe Methods to Remove Acrylic Nails at Home
There are two main approaches. Both work — the difference is speed and what products you use.
| Method | Uses Acetone? | Time Needed | Best For |
|---|---|---|---|
| Acetone Soak | Yes | 30–45 minutes | Fastest, most effective |
| Acetone-Free | No | 45–60 minutes | Sensitive skin, dry nails |
If your nails and skin handle acetone fine, Method 1 is faster and more reliable.
If your nails are already dry, damaged, or your skin is sensitive, Method 2 is gentler.
Method 1: Acetone Soak (Most Effective)
This is the standard professional method to remove acrylic nails at home without damage. It works by dissolving the acrylic bond so you can gently push the product off.
What You Need
- 100% pure acetone
- Nail file (coarse — 100 or 150 grit)
- Nail buffer
- Small glass bowl
- Cotton balls or pads
- Aluminum foil (optional — for wrap method)
- Cuticle oil
- Hand cream
- Cuticle pusher or orangewood stick
- Towel
Step 1: File Down the Acrylic
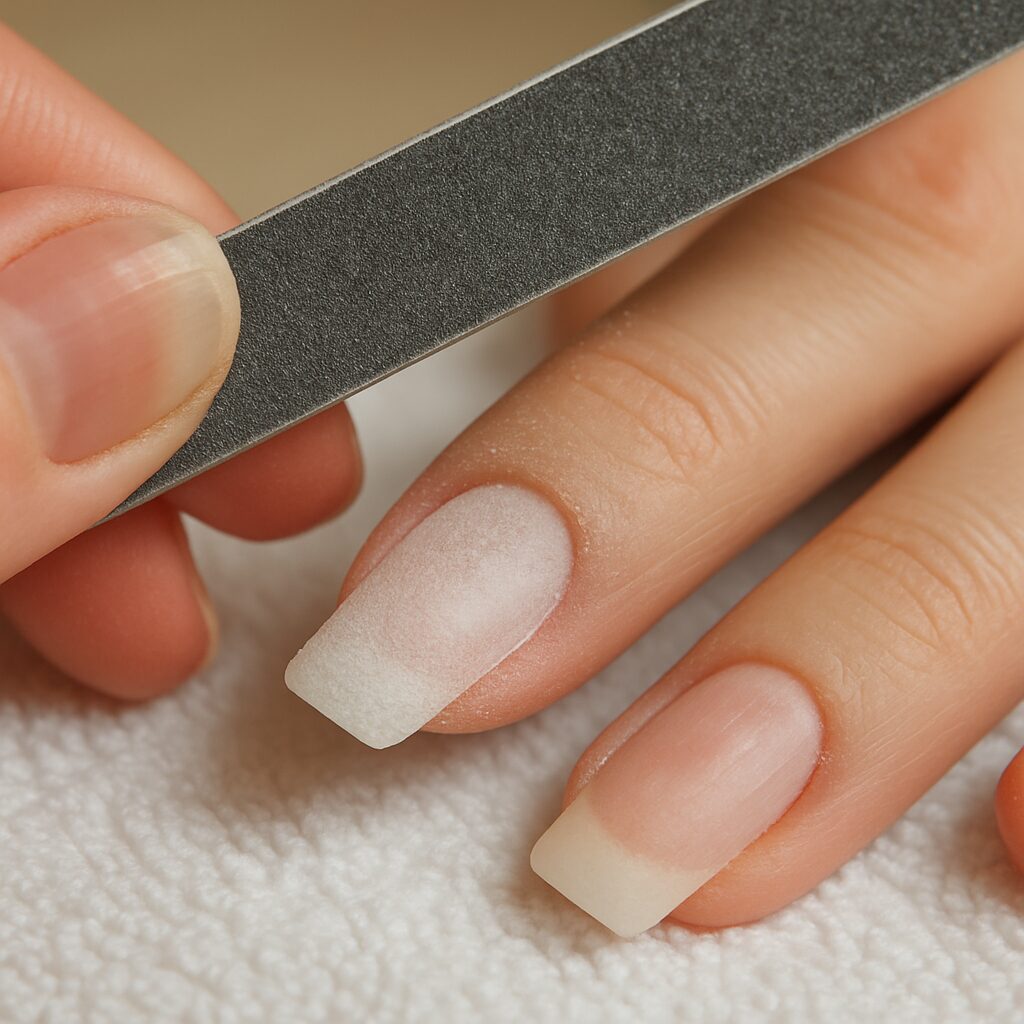
Use a coarse nail file to remove as much of the acrylic bulk as possible. This is an important step because thick acrylic takes much longer to dissolve.
- File the top layer and sides of each nail
- Reduce the thickness as much as you can
- Stop when you get close to the natural nail
- Don’t file into your real nail — leave a thin layer of acrylic
This step makes the soak much faster and more effective.
Step 2: Soak in Acetone
You have two options here — bowl soak or foil wrap.
Bowl Soak:
- Pour enough pure acetone into a glass bowl to cover your nail tips
- Soak your fingertips for 30–40 minutes
- The acrylic will gradually become soft and gummy
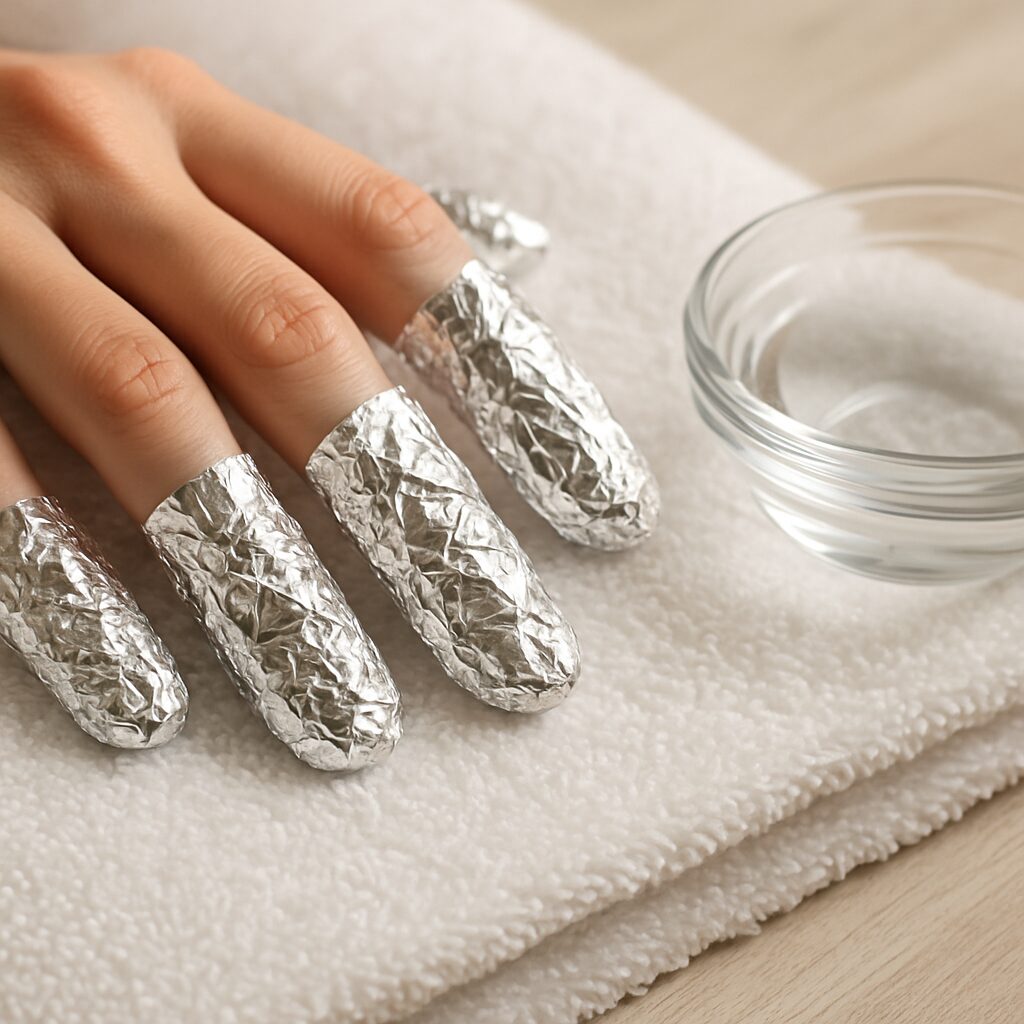
Foil Wrap:
- Soak cotton balls in acetone
- Place one on each nail
- Wrap each finger with aluminum foil
- Wait 30–40 minutes
The foil wrap uses less acetone and keeps it concentrated on the nail. But the bowl soak is simpler.
- Don’t rush the soak time
- If the acrylic hasn’t softened after 30 minutes, wait longer
- Warmth helps — sitting near a heater or using slightly warm acetone speeds things up
Step 3: Gently Push Off the Softened Acrylic
After soaking, the acrylic should feel soft, mushy, or flaky.
- Use a cuticle pusher or orangewood stick
- Gently push the softened acrylic off
- Start from the cuticle area and push toward the tip
- Work slowly — don’t scrape hard
If any area resists, re-soak that finger for 5–10 more minutes. Never force it.
Step 4: Buff and Smooth
After all acrylic is removed, your nail surface may have some residue or roughness.
- Use a fine buffer to gently smooth the surface
- One or two light passes is enough
- Don’t over-buff — your nails are already thin after removal
Step 5: Hydrate Immediately
Acetone dries out nails and skin aggressively. Moisturize right away.
- Wash hands with gentle soap
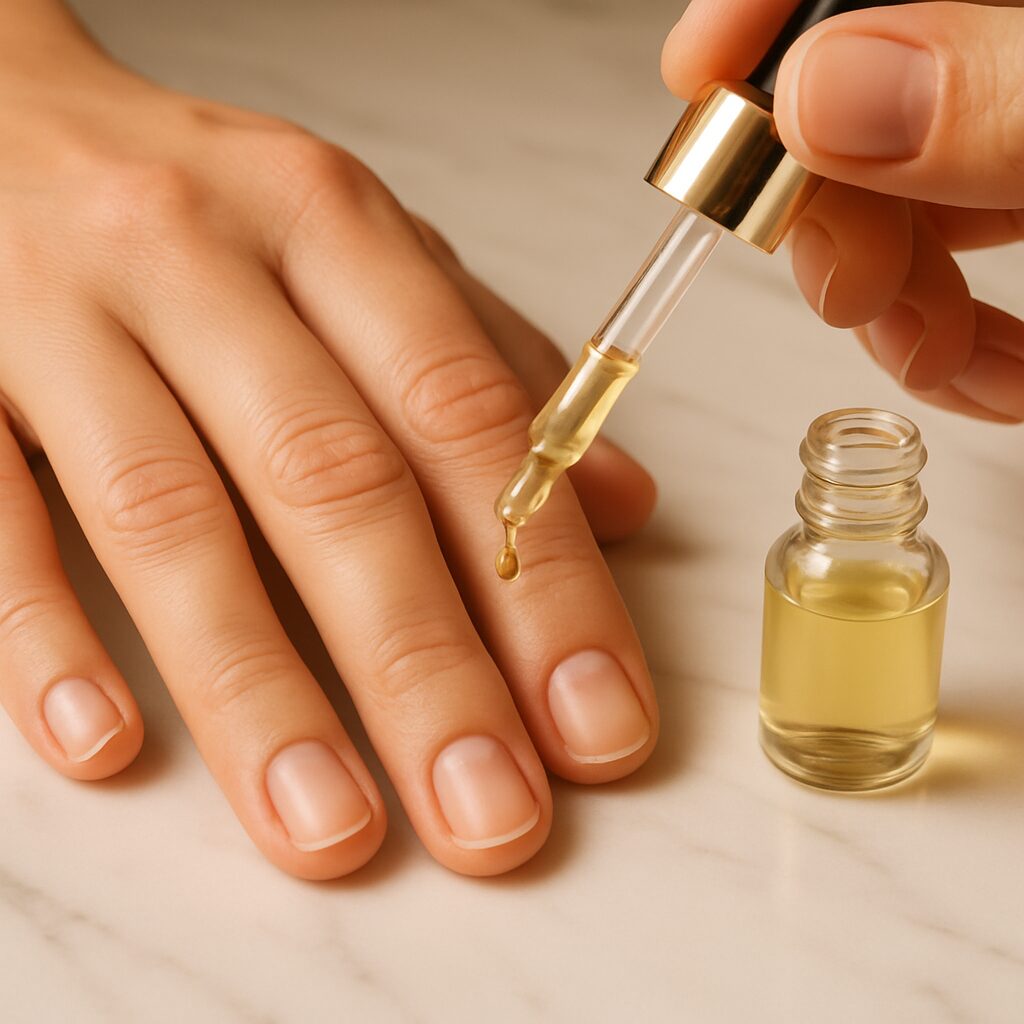
- Apply cuticle oil to all nails
- Massage each cuticle for 20–30 seconds
- Follow with a rich hand cream
Method 2: Acetone-Free Removal
If you want to remove acrylic nails at home without damage and without using acetone, this method is gentler but takes longer.
What You Need
- Non-acetone nail polish remover
- Nail file (coarse and fine)
- Small glass bowl
- Cotton pads
- Aluminum foil or nail clips
- Cuticle oil
- Hand cream
- Cuticle pusher
Step 1: File Down the Acrylic
Same as Method 1 — file the bulk of the acrylic off first.
- Remove as much thickness as possible
- Stop before reaching the natural nail
- This step is even more important with non-acetone remover because it dissolves acrylic more slowly
Step 2: Soak with Non-Acetone Remover
Soak cotton pads in non-acetone remover and place them on each nail. Wrap with foil.
- Leave on for 40–60 minutes
- Non-acetone remover works slower but is less drying
- Check every 15 minutes to see progress
- Re-soak if needed
Step 3: Gently Push Off Softened Acrylic
After soaking, push the softened acrylic off gently.
- Use a wooden stick for safety
- Don’t scrape or force
- Re-wrap any stubborn nails
Step 4: Buff and Moisturize
Smooth any remaining residue with a fine buffer and hydrate immediately.
- Apply cuticle oil to all nails
- Use hand cream generously
- Let nails breathe before applying any new products
If you’ve used this method and your nails still feel very dry afterward, read how to treat extremely dry cuticles at home for deeper cuticle recovery.
What to Do After Removing Acrylic Nails
After you remove acrylic nails at home without damage, your natural nails will need some care. They’ve been covered and under stress for weeks.
Hydrate Daily
Your nails will feel dry after removal, no matter which method you used.
- Apply cuticle oil twice daily — morning and night
- Use hand cream after every hand wash
- Add shea butter or petroleum jelly at night for extra moisture
If you need product recommendations, check best cuticle oil for damaged nails.
Keep Nails Short
Long weak nails break easily. Keeping them short protects the fragile nail plate during recovery.
- Trim nails to a comfortable short length
- File edges smooth
- Avoid sharp corners that catch on things
Use a Nail Strengthener
If your nails feel very thin or bendy after acrylic removal, a strengthener can help.
- Apply on bare nails as a base coat
- Reapply every 2–3 days
- Take breaks after 2–4 weeks of use
For product options, read best nail strengthener for thin brittle nails.
Give Your Nails a Real Break
Don’t rush into your next set of acrylics, gel, or extensions.
- Wait at least 2–3 weeks before reapplying
- Focus on recovery during this time
- Your nails will be stronger for the next application
Watch for Damage Signs
Check your nails after removal.
- White spots grow out naturally
- Peeling means more moisture is needed
- Splitting may need extra attention
If nails are splitting, read nails splitting down the middle.
If ridges appear, check what causes ridges in fingernails and how to fix them.
Common Acrylic Removal Mistakes
Even when you try to remove acrylic nails at home without damage, these mistakes can still cause problems.
Pulling or Prying Acrylics Off
This is the worst thing you can do.
- Always dissolve the bond first
- Never use force
- If it doesn’t budge, it needs more soak time
Skipping the Filing Step
Without filing the bulk off first, the soak takes much longer and may not fully dissolve the acrylic.
- File down as much as you safely can
- Leave only a thin layer before soaking
Not Soaking Long Enough
Cutting soak time short means the acrylic is still bonded to your nail.
- Acetone method: minimum 30 minutes
- Non-acetone method: minimum 40–60 minutes
- Re-soak stubborn nails instead of scraping
Scraping Too Hard
Aggressive scraping with metal tools damages the nail surface.
- Use a wooden orangewood stick when possible
- Apply gentle pressure only
- Stop and re-soak if you feel strong resistance
Skipping Aftercare
Not moisturizing after removal leaves nails dry, thin, and vulnerable.
- Cuticle oil immediately after removal
- Hand cream generously
- Continue daily moisture for at least a week
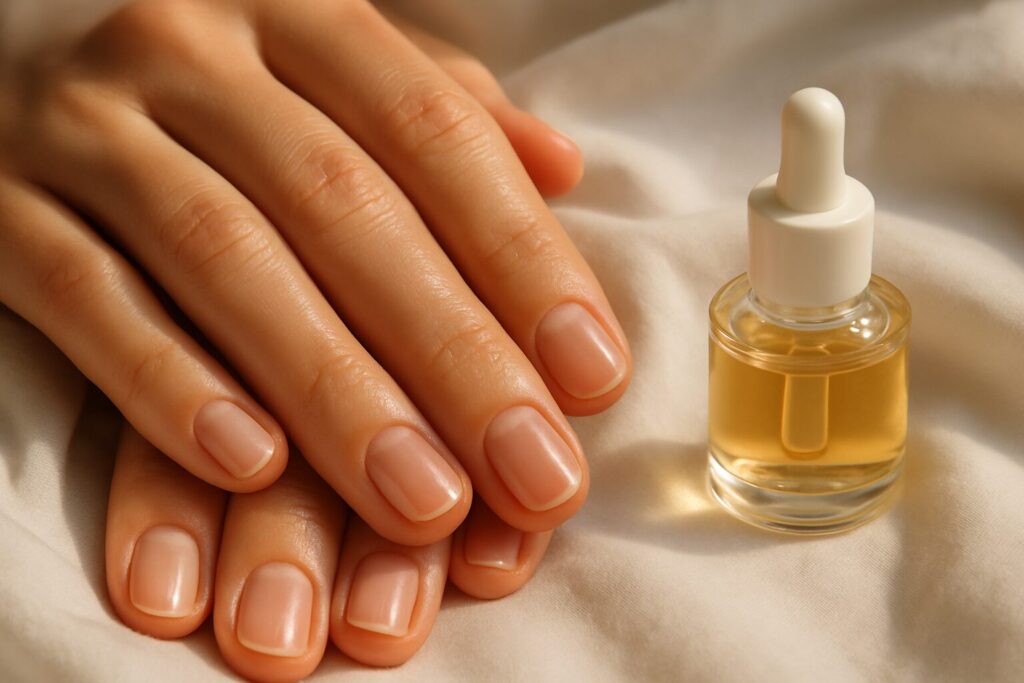
Nail Ideas for After Recovery
Once your nails recover, ease back into nail looks with gentle options:
- Simple Short Summer Nail Ideas 2026
- Daisy Nail Art Designs
- Back to School Nails 2026
- First Day of School Nail Ideas 2026
When you’re ready for nail enhancements again:
- Try builder gel for natural nails for gentler strength
- Or explore press-ons with this press-on nail sizing guide for beginners
Frequently Asked Questions
How do you remove acrylic nails at home without damage?
File the bulk of the acrylic off first, then soak in 100% acetone or non-acetone remover for 30–60 minutes. Gently push the softened acrylic off with a wooden stick. Never peel or force.
Can I remove acrylic nails without acetone?
Yes. Non-acetone remover works but takes longer — usually 40–60 minutes. Filing the acrylic down first is even more important with this method.
How long does it take to remove acrylic nails at home?
With acetone: 30–45 minutes total including filing and soaking. Without acetone: 45–60 minutes or longer.
Will removing acrylic nails damage my natural nails?
Not if you do it properly. Damage happens when acrylics are peeled, forced, or scraped off without proper soaking. Following the correct steps protects your nails.
How do I strengthen my nails after acrylic removal?
Use cuticle oil daily, apply a nail strengthener, keep nails short, eat protein-rich foods, and give nails a 2–3 week break before any new application.
Can I do my own acrylic removal at home?
Yes. With the right tools and patience, acrylic removal at home is safe and effective. The key is filing first, soaking long enough, and never forcing the acrylic off.
How long should I wait before getting new acrylics?
Give your nails at least 2–3 weeks to recover. During that time, moisturize daily and let your natural nails rebuild strength.
Final Thoughts
Learning how to remove acrylic nails at home without damage is a skill that protects your natural nails every time you switch up your look.
The process is straightforward: file the bulk, soak properly, push gently, and moisturize after. That’s it.
The only rule that matters is patience. If the acrylic isn’t soft enough, wait longer. Never force it.
Your natural nails are worth the extra 10 minutes.
For more nail care guides and trending ideas, visit Latest Nail Ideas.