
If you’ve been hearing about builder gel for natural nails but aren’t sure what it actually is or how it works, this guide is for you.
Builder gel for natural nails has become one of the most popular nail care trends in the US — and for good reason. It strengthens your real nails, adds a protective layer, and gives a clean, polished look without the damage that acrylics or hard gels can cause.
Whether your nails are weak, thin, peeling, or just need extra support, builder gel for natural nails might be exactly what you need. Let’s break it all down.
What Is Builder Gel?
Builder gel is a thick, self-leveling gel that sits between regular gel polish and hard acrylic in terms of strength. It’s designed to add structure and support to the nail without being as rigid or heavy as acrylics.
Think of builder gel for natural nails as a protective shield. It coats your natural nail, adds thickness, and helps prevent breakage — all while keeping your nails looking natural.
Builder gel is sometimes called BIAB (Builder In A Bottle), gel overlay, or structured gel. Different brands use different names, but the concept is the same.
It comes in clear, sheer pink, nude, and other natural-looking shades. Most people choose sheer tones so their natural nail shows through.
Why Use Builder Gel for Natural Nails?
There are several reasons why builder gel for natural nails has become so popular, especially among people who want healthy nails without heavy extensions.
Strengthens Weak Nails
If your nails bend, peel, or break easily, builder gel adds a supportive layer that makes them much stronger. Many people with naturally thin or soft nails use builder gel for natural nails specifically for this reason.
No Extensions Needed
Unlike acrylics or Gel X, builder gel doesn’t add length. It works on your natural nail as-is. You keep your real nail shape and length while getting extra protection.
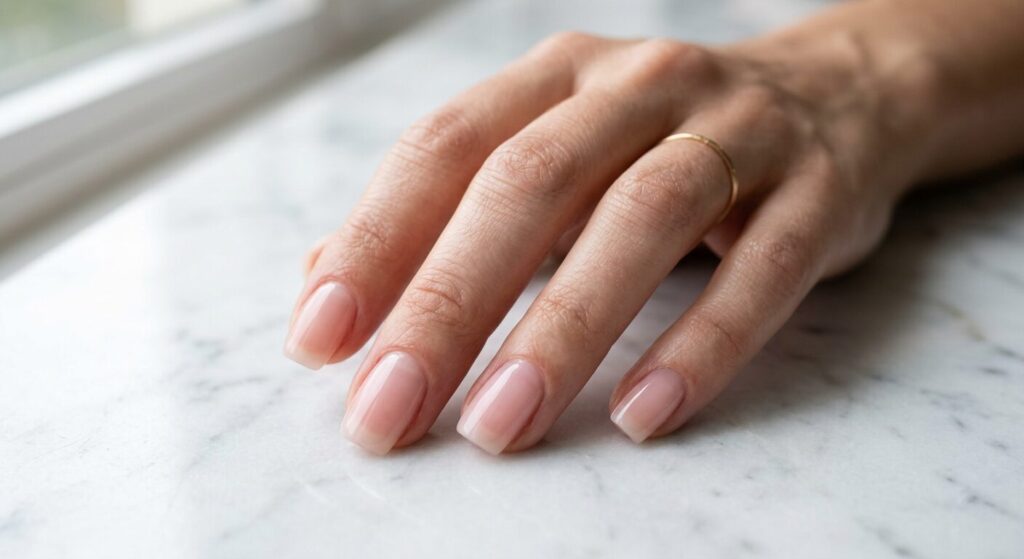
Looks Natural
Because builder gel is applied in thin layers and comes in sheer shades, the result looks like a healthier, shinier version of your own nails.
Flexible but Strong
Acrylics are rigid and can snap. Builder gel has slight flexibility, which moves with your nail instead of cracking under pressure.
Grows Out Gracefully
As your nail grows, builder gel grows with it. There’s no harsh line or obvious regrowth like you get with acrylics. You can either infill or remove and reapply.
Less Damage Than Acrylics
When applied and removed correctly, builder gel for natural nails causes minimal damage compared to traditional acrylics or hard gel extensions.
If you’ve been dealing with nail damage from past products, pairing builder gel with good cuticle care can help. Check this guide on how to treat extremely dry cuticles at home for extra support.
Builder Gel vs Other Nail Products
One of the most common questions beginners ask is how builder gel for natural nails compares to other options. Here’s a clear breakdown.
| Feature | Builder Gel | Gel Polish | Acrylic | Gel X |
|---|---|---|---|---|
| Adds Strength | Yes | No | Yes | Yes |
| Adds Length | No | No | Yes | Yes |
| Flexibility | Medium | High | Low | Medium |
| Natural Look | Very Natural | Natural | Less Natural | Natural |
| Damage Level | Low | Low | Higher | Medium |
| Removal | Soak Off | Soak Off | File + Soak | Soak Off |
| Best For | Strengthening natural nails | Color only | Length + strength | Length + natural look |
Builder gel for natural nails sits in a sweet spot — it gives you strength without the bulk, damage, or commitment of extensions.
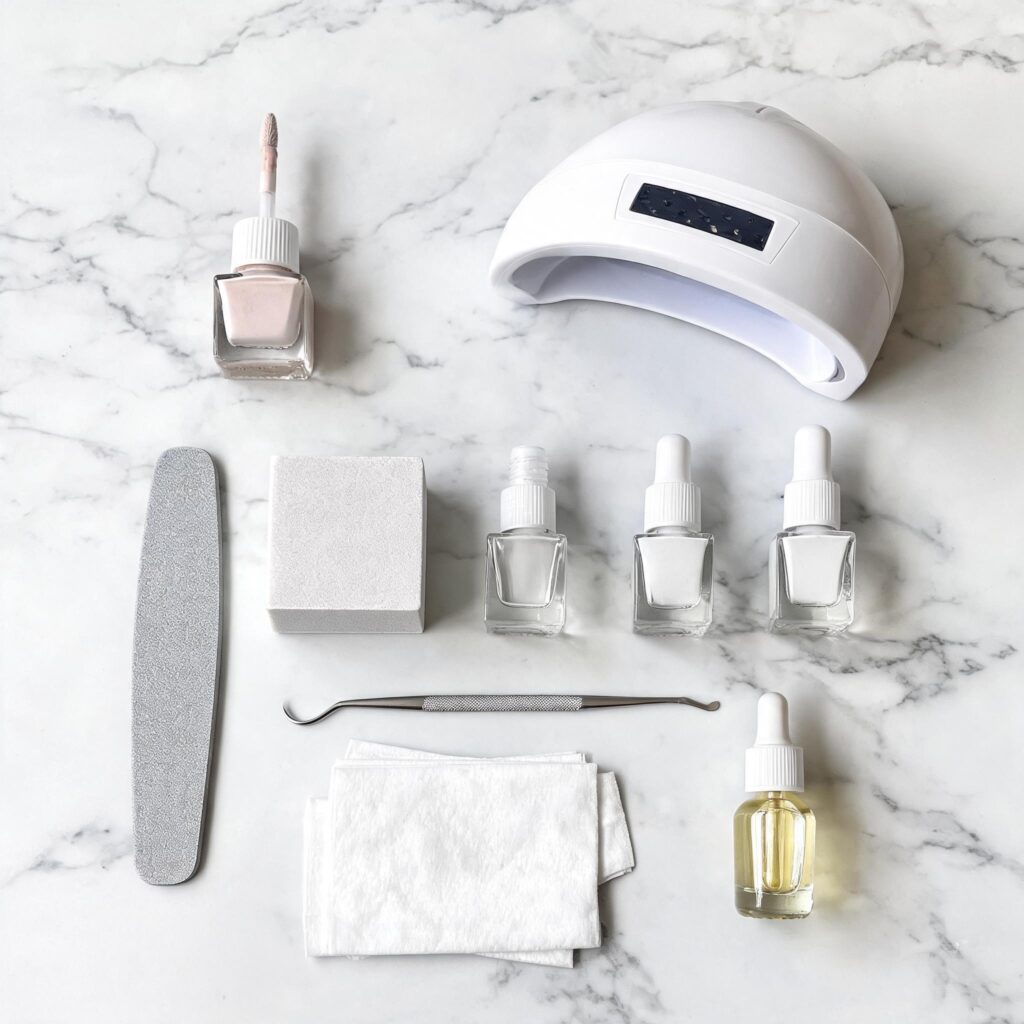
What You Need to Apply Builder Gel for Natural Nails
Before you start, make sure you have these items ready. Most are available at beauty supply stores or online.
- Builder gel — choose a reputable brand in clear or sheer pink
- UV or LED lamp — for curing the gel
- Nail file — 180 grit for shaping
- Nail buffer — for prepping the natural nail surface
- Nail dehydrator or rubbing alcohol — to remove oils before application
- Base coat — some builder gels need a separate base, others don’t
- Top coat — for a glossy sealed finish
- Cuticle pusher — to push back cuticles before applying
- Lint-free wipes — for cleaning the nail surface
- Cuticle oil — for aftercare
How to Apply Builder Gel for Natural Nails Step by Step
Applying builder gel for natural nails at home is straightforward once you understand the process. Take your time with each step.
Step 1: Prep Your Natural Nails
Good prep is the foundation of a long-lasting builder gel application. Skipping this step is the number one reason builder gel lifts or peels early.
- Push back cuticles gently with a cuticle pusher
- Lightly buff the nail surface to remove shine — don’t over-buff
- Wipe each nail with a dehydrator or rubbing alcohol
- Make sure nails are completely dry and oil-free
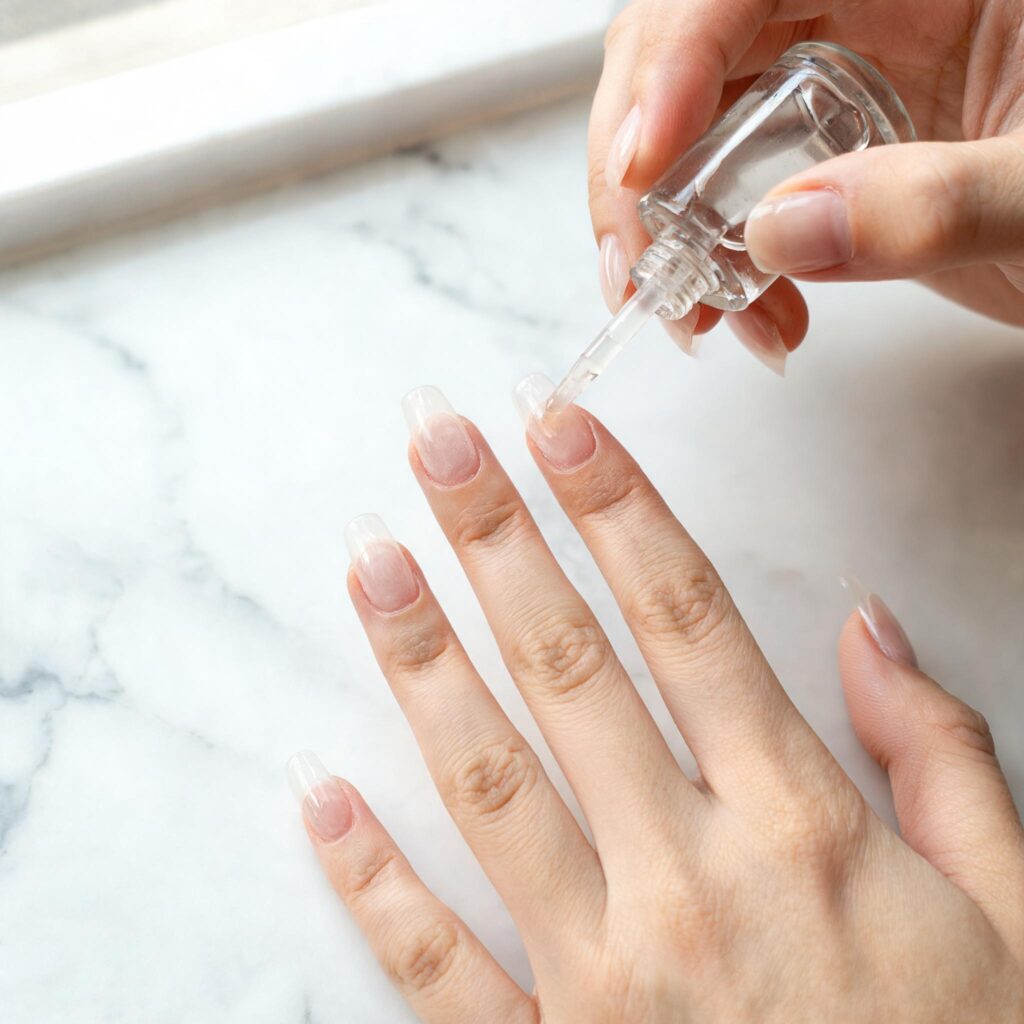
Step 2: Apply Base Coat (If Required)
Some builder gels are self-leveling and don’t need a separate base. Others work better with one. Check your product’s instructions.
- Apply a thin layer of base coat if needed
- Cure under UV or LED lamp as directed
- Usually 30–60 seconds for LED, 2 minutes for UV
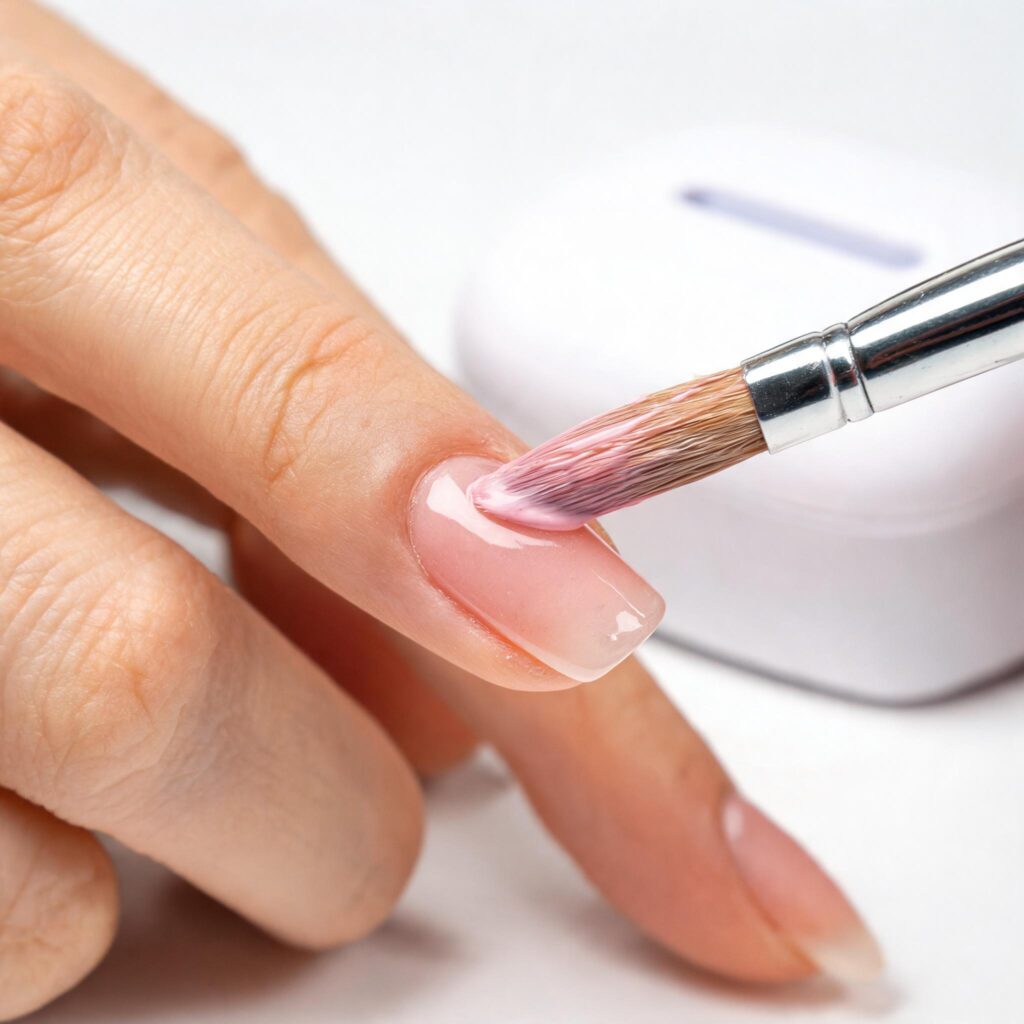
Step 3: Apply First Layer of Builder Gel
This is where the structure begins. Builder gel for natural nails is thicker than regular gel polish, so it applies differently.
- Take a small bead of builder gel on your brush
- Apply it to the center of the nail first
- Spread it toward the cuticle area — leave a tiny gap so gel doesn’t touch the skin
- Then spread toward the free edge
- Keep the layer thin and even
Cure under the lamp as directed.
Step 4: Apply Second Layer (Apex Layer)
The second layer is where you build the main structure. This layer creates the “apex” — the strongest point of the nail, usually near the center.
- Apply a slightly thicker bead of builder gel
- Place it at the center of the nail
- Let the gel self-level for a few seconds before curing
- The center should be slightly thicker than the edges
- Cure under the lamp
This is what gives builder gel for natural nails its strength and durability.
Step 5: Shape and File
After curing, you can refine the shape of your nails.
- Use a 180 grit file to shape the free edge
- Smooth any uneven areas on the surface if needed
- Don’t file too aggressively — the goal is just to clean up the shape
Step 6: Apply Top Coat and Cure
A good top coat seals everything in and gives you that glossy, salon-quality finish.
- Apply a thin, even layer of top coat
- Make sure to cap the free edge (seal the tip)
- Cure under the lamp one final time
- Wipe with a lint-free pad if your top coat has a sticky layer
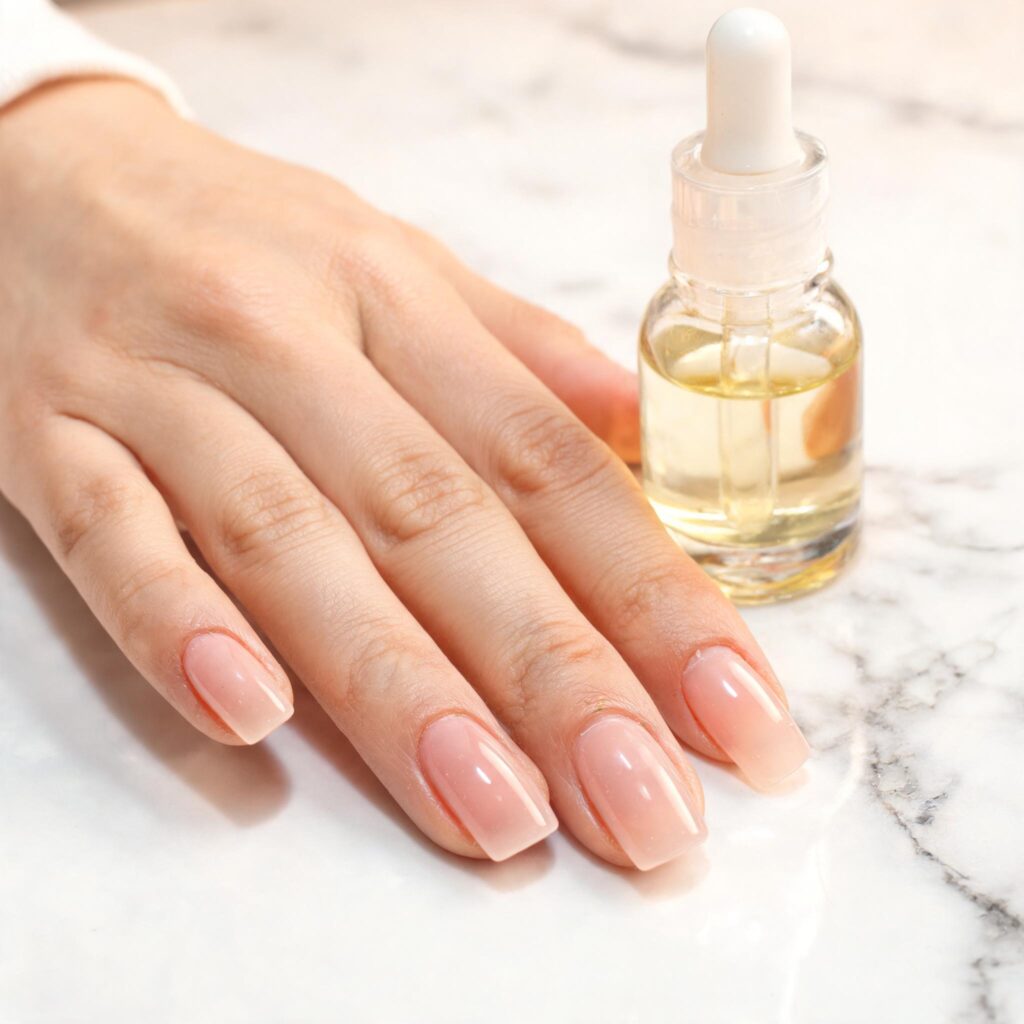
Step 7: Apply Cuticle Oil
The final step is hydration. Cuticle oil after application keeps the skin around your nails healthy and moisturized.
- Apply 1–2 drops of cuticle oil to each nail
- Massage gently around the cuticle area
- This also helps the finished nails look more natural and polished
How to Remove Builder Gel Safely
Removing builder gel for natural nails properly is just as important as applying it. The wrong removal can undo all the protective benefits.
Soak-Off Method
Most builder gels are soak-off formulas. Here’s how to remove them safely.
- File the top coat and surface layer gently — don’t file down to the natural nail
- Soak cotton pads in 100% acetone
- Place the soaked cotton on each nail
- Wrap each finger with aluminum foil
- Wait 15–20 minutes
- Gently push off the softened gel with an orangewood stick
- If gel resists, rewrap for 5 more minutes — don’t scrape
If you want a more detailed removal process, check this guide on gel x removal at home — the soak-off method is very similar.
After Removal Care
Your nails may feel thin or dry after removal. That’s normal.
- Apply cuticle oil immediately
- Use hand cream generously
- Give nails 1–2 weeks to recover before reapplying
- Use a nail strengthener if nails feel too flexible
If your nails show signs of damage after removal, these guides can help:
Builder Gel Aftercare Tips
Getting builder gel for natural nails applied is only half the job. Proper aftercare keeps it looking great and lasting longer.
Moisturize Daily
Builder gel protects the nail, but the skin around your nails still needs care.
- Apply cuticle oil every morning and evening
- Use hand cream after washing hands
- Avoid letting cuticles get dry or cracked
Avoid Harsh Chemicals Without Gloves
Cleaning products, dish soap, and bleach can weaken the gel bond over time.
- Wear gloves when washing dishes or cleaning
- Avoid prolonged water exposure
- Pat hands dry thoroughly after washing
Don’t Pick or Peel
If the gel starts lifting at the edges, don’t peel it off.
- File the lifted area gently
- Or soak off and reapply if needed
- Peeling damages the natural nail underneath
Schedule Regular Infills or Removal
Builder gel for natural nails typically lasts 3–4 weeks. After that, you can either:
- Get an infill — where the grown-out area near the cuticle is filled in
- Or remove completely and start fresh
Don’t leave builder gel on for too long without maintenance.
Common Mistakes Beginners Make with Builder Gel
If you’re new to builder gel for natural nails, watch out for these common errors.
Applying Too Thick
Thick layers don’t cure properly and can feel heavy or uncomfortable.
- Apply in thin, controlled layers
- Two thin layers are better than one thick one
- Let the gel self-level before curing
Skipping Nail Prep
Without proper dehydration and buffing, builder gel won’t bond well.
- Always clean and dehydrate the nail surface
- Buff lightly to remove shine
- Don’t skip this even if you’re in a hurry
Getting Gel on the Skin
Gel that touches the cuticle or side walls will lift and peel.
- Leave a tiny gap around the cuticle
- Clean up any skin contact before curing
- Use a thin brush dipped in alcohol to fix mistakes
Not Capping the Free Edge
If you don’t seal the tip of the nail with top coat, water and air can get underneath.
- Run the brush along the very tip of the nail
- Do this with both builder gel layers and top coat
Peeling Instead of Soaking Off
This is the fastest way to damage your natural nails.
- Always soak off using the acetone method
- Never peel builder gel off
- If it’s lifting, soak it — don’t pull it
Nail Ideas to Try with Builder Gel
Once you’ve mastered builder gel for natural nails, you can use it as a strong base for beautiful nail designs:
- Simple Summer Nails 2026
- Simple Short Summer Nail Ideas 2026
- Almond Summer Nail Ideas 2026
- Hottest Summer Nails 2026
- Simple July Nail Ideas – Summer 2026
- Best Patriotic Nail Designs 2026
- Daisy Nail Art Designs
If you enjoy press-ons more, check out this press-on nail sizing guide for beginners to get the perfect fit every time.
Frequently Asked Questions
What is builder gel for natural nails?
Builder gel for natural nails is a thick, self-leveling gel applied over your real nails to add strength, structure, and a smooth finish. It doesn’t add length — it protects and strengthens what you already have.
Is builder gel good for weak nails?
Yes. Builder gel for natural nails is one of the best options for people with thin, soft, or breakable nails. It adds a protective layer that makes nails stronger and less likely to bend or break.
How long does builder gel last on natural nails?
With proper application and care, builder gel for natural nails typically lasts 3–4 weeks before needing an infill or removal.
Can I apply builder gel for natural nails at home?
Yes, you can. With the right tools — builder gel, a UV or LED lamp, prep supplies, and a top coat — beginners can apply builder gel for natural nails at home by following a step-by-step process.
Does builder gel damage natural nails?
When applied and removed correctly, builder gel for natural nails causes very little damage. Most damage happens when people peel it off instead of soaking it off properly.
What’s the difference between builder gel and regular gel polish?
Regular gel polish adds color but no strength. Builder gel for natural nails adds structure and thickness, making nails stronger. Builder gel is thicker and more durable than standard gel polish.
How do I remove builder gel from natural nails?
File the top layer gently, soak cotton pads in 100% acetone, wrap fingers in foil for 15–20 minutes, then gently push off the softened gel. Never peel or scrape.
Final Thoughts
Builder gel for natural nails is one of the best things you can do for weak, thin, or damaged nails. It adds real protection without the heaviness of acrylics or the commitment of extensions.
If you’re a beginner, start with one hand first to practice. Take your time with prep, apply thin layers, and always soak off when it’s time to remove. Your natural nails will stay healthy underneath — and that’s the whole point.
Once you get comfortable with builder gel for natural nails, it becomes an easy part of your nail care routine that keeps your nails strong, smooth, and ready for any design you want to try.
For more nail care guides and trending ideas, visit Latest Nail Ideas.