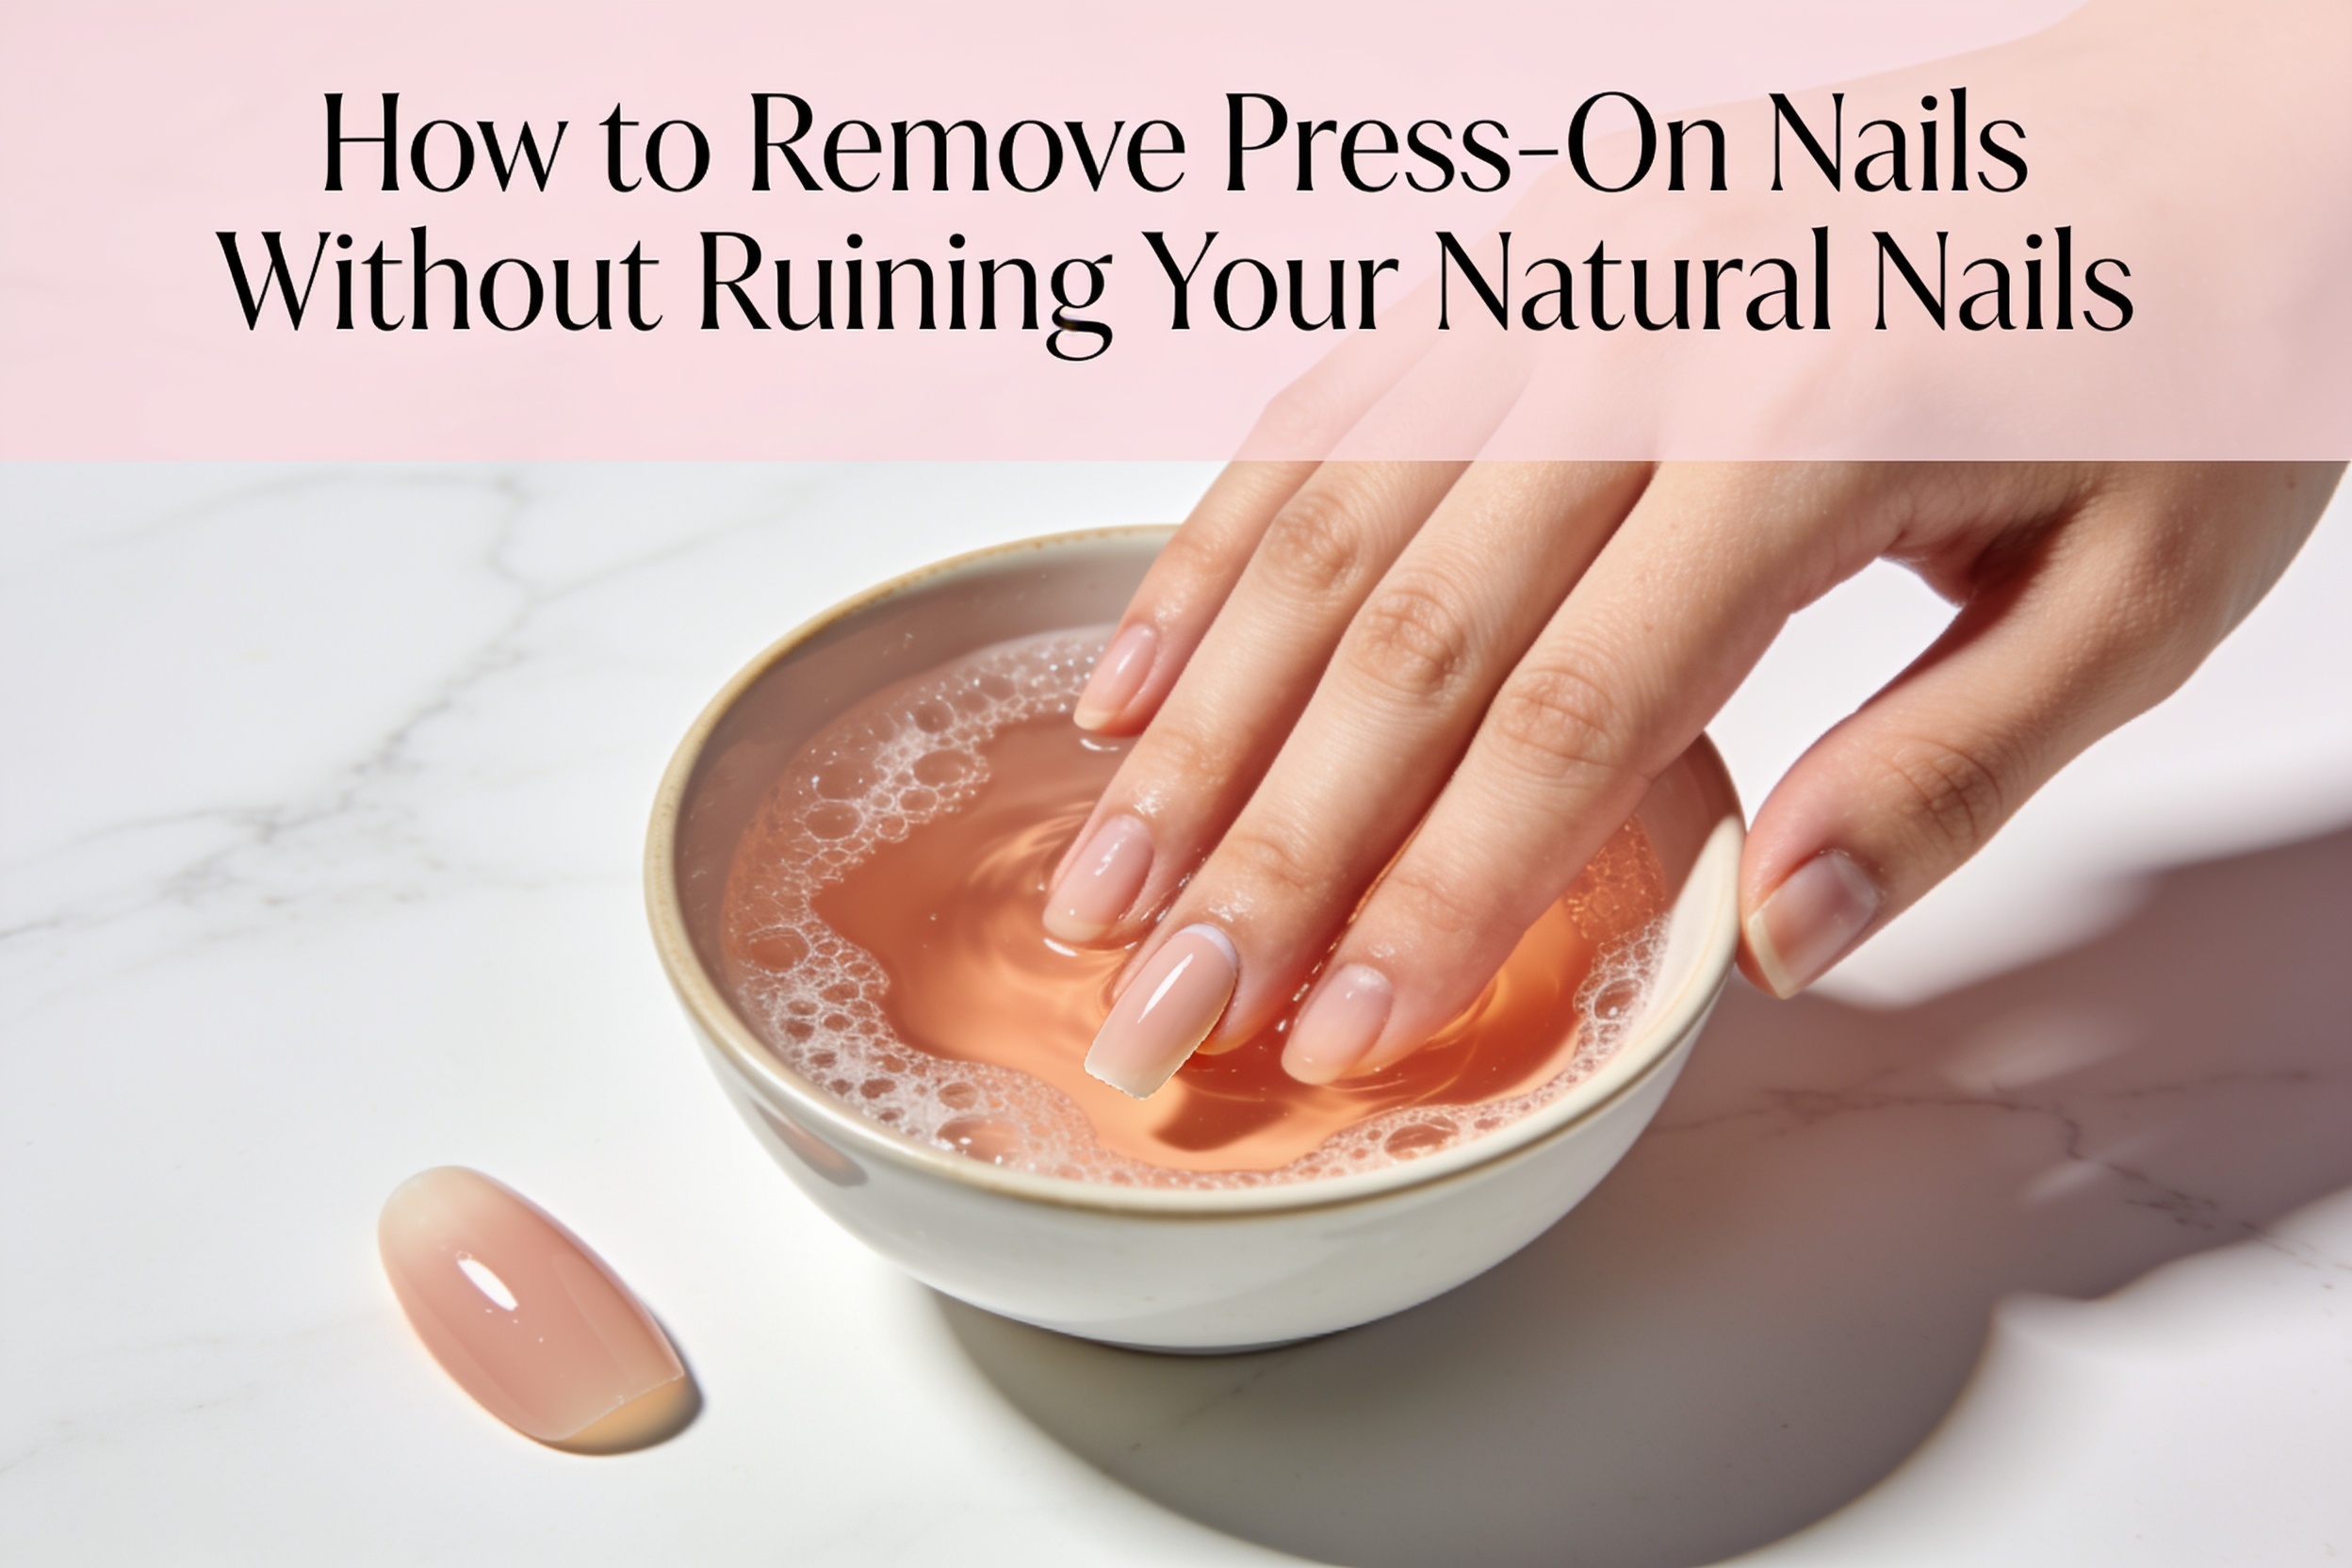
Knowing how to remove press on nails without damage is just as important as knowing how to apply them.
Most people focus on application but rush through removal. That’s where the damage happens — peeling, pulling, or forcing press-ons off takes layers of your natural nail with it.
This guide shows you exactly how to remove press on nails without damage using safe, simple methods you can do at home.
Why Safe Removal Matters
Press-on nails bond to your natural nail using adhesive tabs or nail glue. Both create a hold that’s strong enough to last days.
When you peel or pop press-ons off without softening the bond first, the adhesive pulls the top layers of your natural nail with it. This causes:
- Thin, weak nails
- White patches on the nail surface
- Peeling and flaking
- Rough, uneven texture
- Increased risk of splitting
If you want to keep wearing press-ons regularly, learning how to remove press on nails without damage protects your nails long-term.
If your nails are already thin from past removal, this guide on nails splitting down the middle can help with recovery.
Three Safe Methods to Remove Press-On Nails
There are three main ways to remove press on nails without damage at home. The best method depends on what adhesive you used.
| Method | Best For | Time Needed |
|---|---|---|
| Warm Water Soak | Adhesive tabs | 10–15 minutes |
| Oil Soak | Adhesive tabs or light glue | 15–20 minutes |
| Acetone Soak | Strong nail glue | 15–20 minutes |
General rule: If you used adhesive tabs, warm water or oil is enough. If you used nail glue, you’ll likely need acetone.
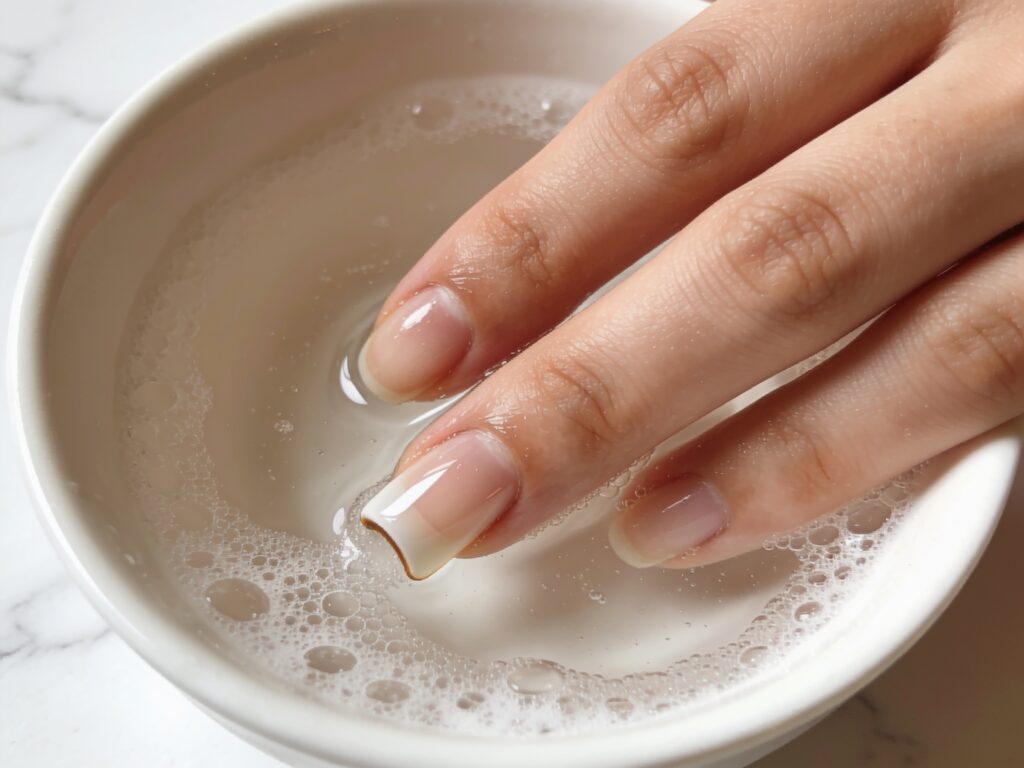
Step-by-Step: Warm Water Soak Method
This is the gentlest way to remove press on nails without damage. It works best when press-ons were applied with adhesive tabs.
What You Need
- A small bowl
- Warm water (not hot)
- A few drops of dish soap
- Cuticle pusher or orangewood stick
- Towel
- Cuticle oil
Step 1: Fill the Bowl with Warm Soapy Water
Fill a small bowl with warm water and add a few drops of gentle dish soap. The soap helps break down the adhesive bond.
Make sure the water is comfortably warm — not hot enough to burn.
Step 2: Soak Your Fingertips
Place your fingertips into the bowl so all the press-on nails are submerged.
- Soak for 10–15 minutes
- Move your fingers gently in the water every few minutes
- This helps the water work underneath the press-on edges
Step 3: Gently Wiggle and Lift
After soaking, try to gently wiggle each press-on nail. If the adhesive has softened enough, the nail should move or lift slightly.
- Use a cuticle pusher to gently slide under the edge
- Start from the side, not the cuticle area
- Apply slow, gentle pressure
- If a nail won’t budge, soak for 5 more minutes
Never force it. If you have to pull hard, it’s not ready.
Step 4: Clean and Moisturize
Once all press-ons are off, clean any leftover adhesive residue from your nails.
- Gently rub residue off with your fingers or a soft cloth
- Wash hands with gentle soap
- Apply cuticle oil immediately
- Follow with hand cream
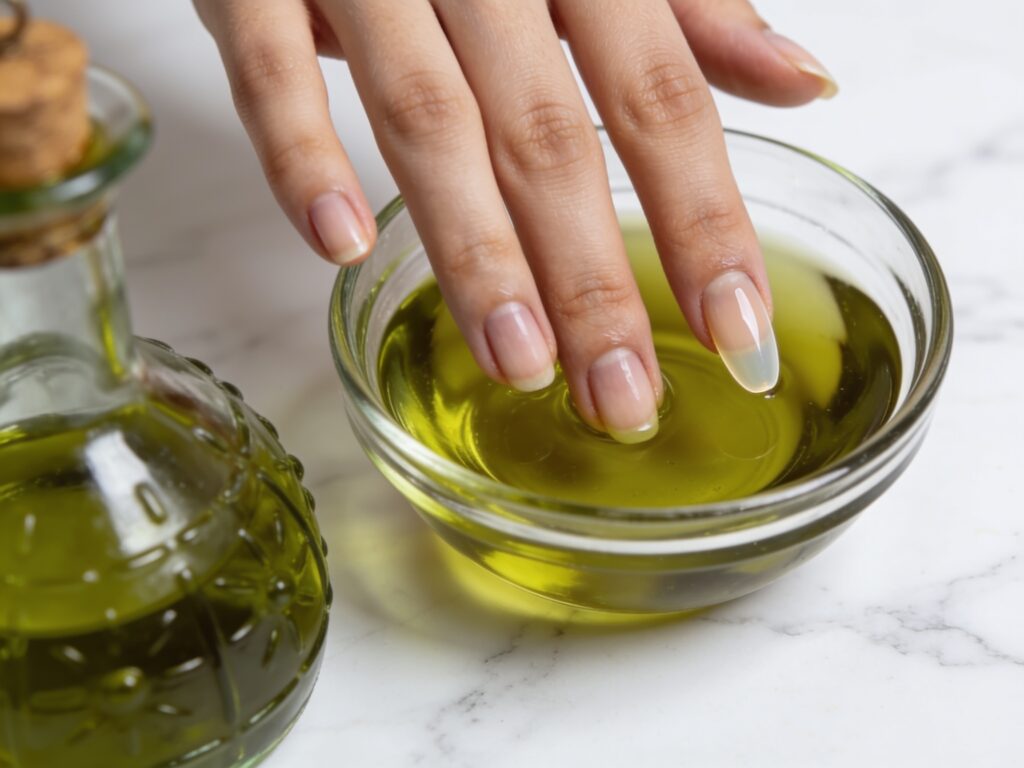
Step-by-Step: Oil Soak Method
The oil method is another gentle way to remove press on nails without damage. Oil dissolves adhesive gradually and also moisturizes your nails during the process.
What You Need
- A small bowl
- Olive oil, coconut oil, or cuticle oil
- Cuticle pusher or orangewood stick
- Towel
- Hand cream
Step 1: Warm the Oil Slightly
Pour enough oil into a small bowl to cover your nail tips. Warm it slightly — just enough to feel comfortable, not hot.
Olive oil, coconut oil, and cuticle oil all work well for this method.
Step 2: Soak for 15–20 Minutes
Place your fingertips in the oil and let them soak.
- The oil slowly breaks down the adhesive bond
- It also hydrates your nails and cuticles at the same time
- Wiggle your fingers gently every few minutes
Step 3: Gently Remove Each Nail
After soaking, the press-ons should feel loose.
- Slide a cuticle pusher gently under the lifted edge
- Work slowly from the side toward the center
- If a nail resists, soak a few more minutes
- Don’t twist or yank
Step 4: Clean and Hydrate
After all nails are off, wipe away excess oil and any adhesive residue.
- Wash hands gently
- Apply fresh cuticle oil
- Use hand cream for extra moisture
This method is great if your nails are already dry or weak, since the oil helps condition them during removal.
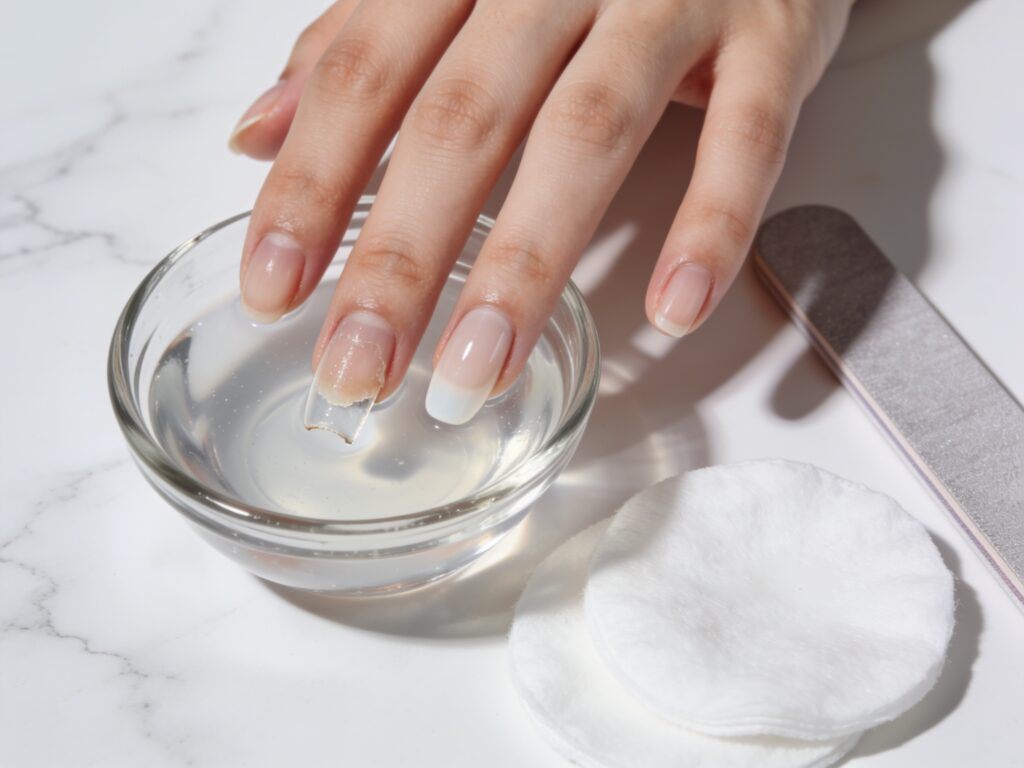
Step-by-Step: Acetone Method
If you used strong nail glue for your press-ons, warm water and oil might not be enough. In that case, acetone is the most effective way to remove press on nails without damage.
What You Need
- 100% pure acetone
- Small glass bowl
- Nail file (180 grit)
- Cuticle pusher or orangewood stick
- Cuticle oil
- Hand cream
Step 1: Gently File the Top Surface
Lightly file the surface of each press-on nail to break the top seal. This allows acetone to penetrate faster.
- Don’t file all the way through to your natural nail
- Just remove the shine and top layer
Step 2: Soak in Acetone
Pour enough acetone into a small glass bowl to cover your nail tips.
- Soak fingertips for 10–15 minutes
- You’ll see the glue starting to dissolve
- Don’t rush this step
Step 3: Gently Push Off the Press-Ons
After soaking, use a cuticle pusher to gently slide each press-on off.
- Start from the edge, not the center
- Use slow, steady pressure
- If a nail resists, soak for 5 more minutes
Step 4: Remove Glue Residue
After press-ons are off, some glue residue may remain.
- Soak a cotton pad in acetone
- Gently rub the residue off each nail
- Don’t scrape with metal tools on your natural nail
Step 5: Hydrate Immediately
Acetone dries out nails and skin quickly. Moisturize right away.
- Wash hands with gentle soap
- Apply cuticle oil generously to all nails
- Follow with a rich hand cream
- Consider wearing cotton gloves for an hour to lock in moisture
If you want more details on using acetone for nail removal, this guide on gel x removal at home covers the acetone soak-off process in depth.
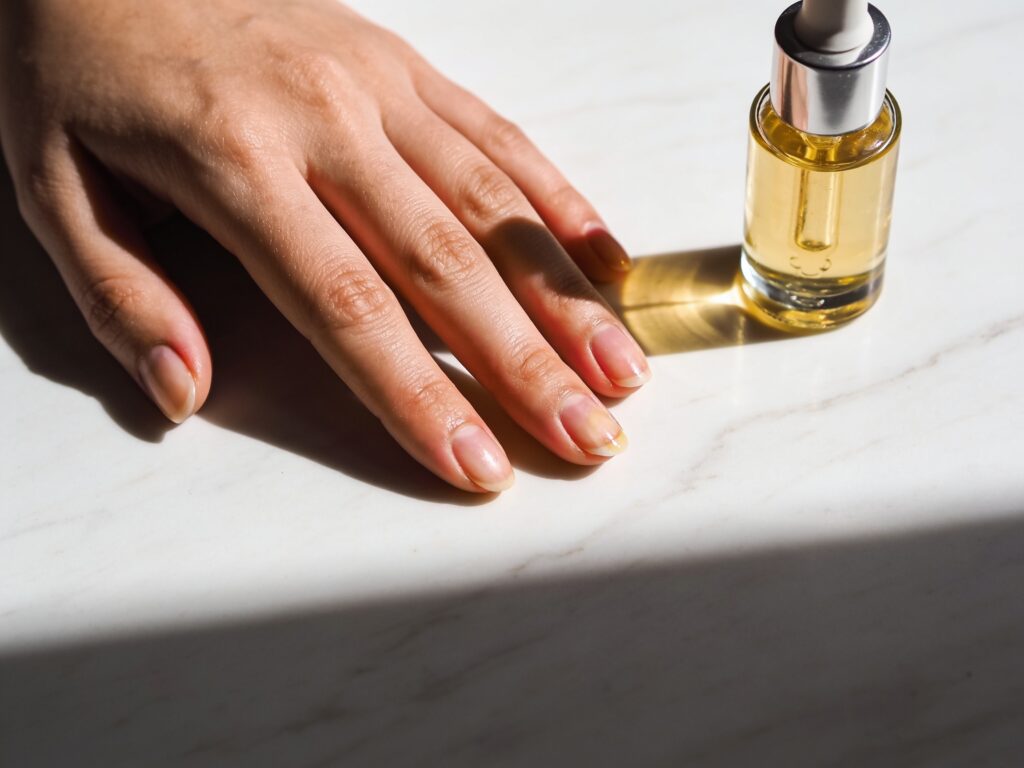
What to Do After Removing Press-On Nails
Once your press-ons are off, your nails need a little recovery care — especially if you used glue or acetone.
Hydrate Your Nails and Cuticles
Removal can leave your nails feeling dry and stripped.
- Apply cuticle oil to all 10 nails
- Massage gently for 30 seconds each
- Use hand cream generously
- Repeat morning and evening for at least 3 days
Buff Away Any Remaining Residue
If small patches of glue are still stuck, gently buff them off.
- Use a fine-grit buffer
- Don’t buff aggressively
- One or two light passes is enough
Let Your Nails Rest
Give your nails a break before your next set.
- Wait at least 2–3 days before applying new press-ons
- A full week off is even better
- During this time, keep nails short, clean, and moisturized
Check for Damage
After removal, look at your natural nails for any issues.
- White spots usually grow out naturally
- Peeling or thin nails need extra moisture and care
- If you notice pain or redness, avoid press-ons until healed
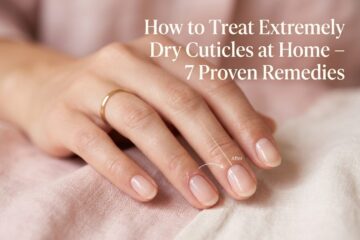
If your cuticles are dry after removal, this guide on how to treat extremely dry cuticles at home can help restore moisture.
If you notice ridges on your nails after removal, read what causes ridges in fingernails and how to fix them.
Common Removal Mistakes to Avoid
These mistakes are the main reasons people damage their nails during press-on removal. Avoid all of them.
Peeling Press-Ons Off
This is the number one mistake. Peeling pulls layers of your natural nail plate off.
- Always soften the adhesive first
- Soak before removing — every single time
- If it won’t come off, soak longer
Pulling from the Cuticle Area
Starting removal from the cuticle end is risky because that’s where your nail is most attached and most vulnerable.
- Start from the side edges instead
- Work gently toward the center
- Never pull upward from the base
Rushing the Soak Time
Cutting soak time short means the adhesive isn’t fully dissolved.
- Warm water method: minimum 10 minutes
- Oil method: minimum 15 minutes
- Acetone method: minimum 10 minutes
- Be patient — extra minutes save your nails
Using Metal Tools Aggressively
Metal cuticle pushers can scrape your natural nail surface if used too hard.
- Use a wooden orangewood stick when possible
- Apply gentle pressure only
- Stop and re-soak if gel or glue resists
Skipping Aftercare
Not moisturizing after removal leaves nails dry, weak, and prone to damage.
- Cuticle oil is non-negotiable after every removal
- Hand cream helps too
- Don’t skip this step even once
Next Press-On Application Tips
Now that you know how to remove press on nails without damage, here are quick tips for your next set:
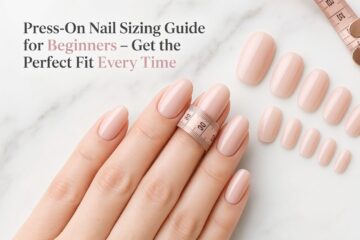
- Size your nails properly every time — use this press-on nail sizing guide for beginners
- Use adhesive tabs for easier removal next time
- Prep nails with alcohol before applying
- Press firmly for 30 seconds per nail
If you’re thinking about trying builder gel instead of press-ons, check out builder gel for natural nails for a different approach to nail strengthening.
Nail Ideas for Your Next Set
Once your nails have recovered, try these trending looks:
- Simple Summer Nails 2026
- Simple Short Summer Nail Ideas 2026
- Hottest Summer Nails 2026
- Best Summer Vacation Nails 2026
- Simple July Nail Ideas – Summer 2026
- Best Patriotic Nail Designs 2026
Frequently Asked Questions
How do I remove press on nails without damage?
Soak your nails in warm soapy water, oil, or acetone for 10–20 minutes depending on the adhesive used. Then gently slide each nail off with an orangewood stick. Never peel or force them off.
What is the safest way to remove press on nails without damage?
The warm water soak method is the gentlest option. If you used adhesive tabs, warm soapy water for 10–15 minutes is usually enough to loosen the bond safely.
Can I reuse press-on nails after removal?
Yes, if you remove them carefully without bending or breaking them. Clean off any adhesive residue, store them in a safe container, and they can be reused with fresh adhesive tabs.
How do I remove press on nail glue without acetone?
Warm water with dish soap or an oil soak can soften lighter glue bonds. For stronger glue, acetone is usually needed for complete removal.
Do press-on nails damage natural nails?
Not if you apply and remove them correctly. Damage happens when press-ons are peeled off without softening the adhesive first.
How long should I soak press-on nails before removing?
Warm water: 10–15 minutes. Oil: 15–20 minutes. Acetone: 10–15 minutes. Always soak long enough for the adhesive to dissolve fully.
Should I take breaks between press-on nail sets?
Yes. Giving your nails 2–3 days off between sets helps them recover. A full week break is even better, especially if you notice dryness or thinning.
Final Thoughts
Learning how to remove press on nails without damage is a simple skill that protects your natural nails every time you wear press-ons.
The key is patience. Soak first, go slow, never peel, and always moisturize after.
When you take care of your nails during removal, they stay strong, healthy, and ready for your next beautiful set.
For more nail care guides and trending ideas, visit Latest Nail Ideas.