If you’re looking for a safe way to do gel x removal at home, you’re in the right place. Gel X nails look amazing, but removing them the wrong way can seriously damage your natural nails.
Many people make the mistake of peeling or forcing them off. That pulls layers of your natural nail with it.
In this guide, you’ll learn the correct method for gel x removal at home — step by step, without rushing, and without ruining your nails.
What Are Gel X Nails?
Gel X nails are soft gel nail extensions that are applied using a special gel adhesive and cured under a UV or LED lamp.
They’re popular because they look natural, feel lightweight, and don’t require the heavy filing or strong chemicals that acrylics need.
Gel X tips come in different shapes and lengths. They bond to the natural nail using a gel base rather than traditional nail glue.
Because of this gel bond, the removal process is different from regular press-ons or acrylics.
Why Proper Gel X Removal Matters
The gel adhesive used in Gel X application creates a strong bond with your natural nail. If you try to pop, peel, or force the tips off, you risk:
- Peeling off layers of your natural nail plate
- Creating thin, weak, painful nails
- Causing white spots or uneven texture
- Making your nails more prone to splitting and breakage
Proper gel x removal at home protects your natural nails so they stay healthy underneath.
If your nails are already damaged from past removal, this guide on how to treat extremely dry cuticles at home can help with recovery.
What You Need for Gel X Removal at Home
Before you start, gather everything you need. Having the right tools makes the process safer and faster.
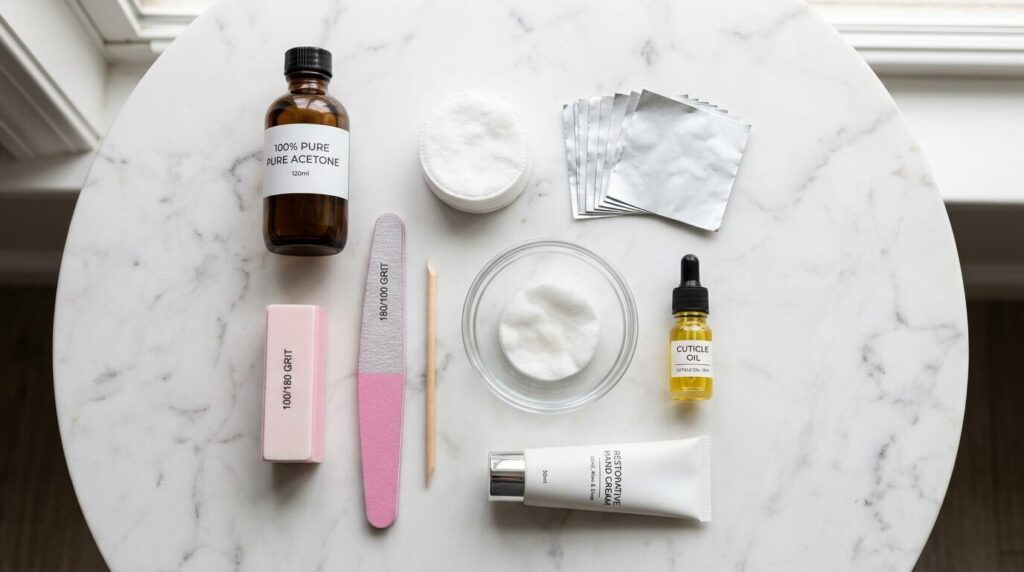
- 100% pure acetone — regular nail polish remover won’t work well enough
- Nail file — 150 or 180 grit for filing the top coat
- Nail buffer — for smoothing after removal
- Cotton balls or pads — to soak in acetone
- Aluminum foil — cut into small squares for wrapping fingers
- Cuticle oil — to rehydrate nails after removal
- Cuticle pusher or orangewood stick — to gently push off softened gel
- Small bowl — if using the soak method instead of foil wraps
- Hand cream — for aftercare
Most of these items are available at any drugstore or beauty supply store.
How to Remove Gel X Nails at Home Step by Step
This is the most important part of gel x removal at home. Follow each step carefully to protect your natural nails.
Step 1: File the Top Layer
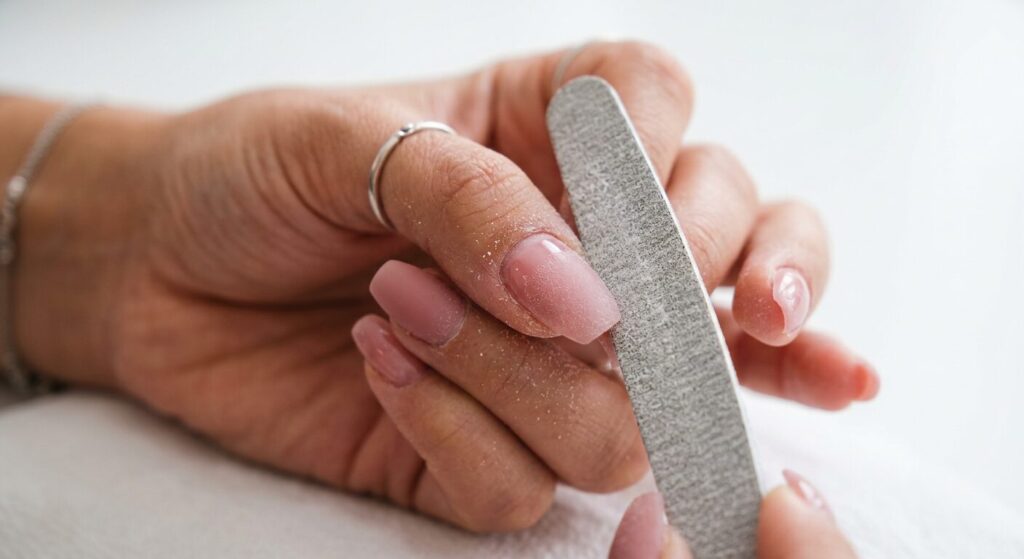
Start by filing the shiny top coat off each Gel X nail. This breaks the seal and allows the acetone to penetrate the gel underneath.
- Use a 150 or 180 grit nail file
- File gently across the surface of each nail
- Don’t file all the way down to your natural nail
- Just remove the shine and top layer
The goal is to rough up the surface so acetone can soak in faster. If you skip this step, the acetone will take much longer to break down the gel.
Step 2: Soak Cotton in Acetone
Take a cotton ball or cotton pad and soak it thoroughly in 100% pure acetone.
- Make sure the cotton is fully saturated
- Don’t squeeze out too much — you want it wet
- One cotton piece per finger
Step 3: Wrap Each Finger in Foil
Place the acetone-soaked cotton directly on top of the Gel X nail. Then wrap the finger tightly with a small square of aluminum foil.
- Make sure the cotton sits flat on the nail surface
- Wrap the foil snug but not painfully tight
- Repeat for all 10 fingers
- Set a timer for 15–20 minutes
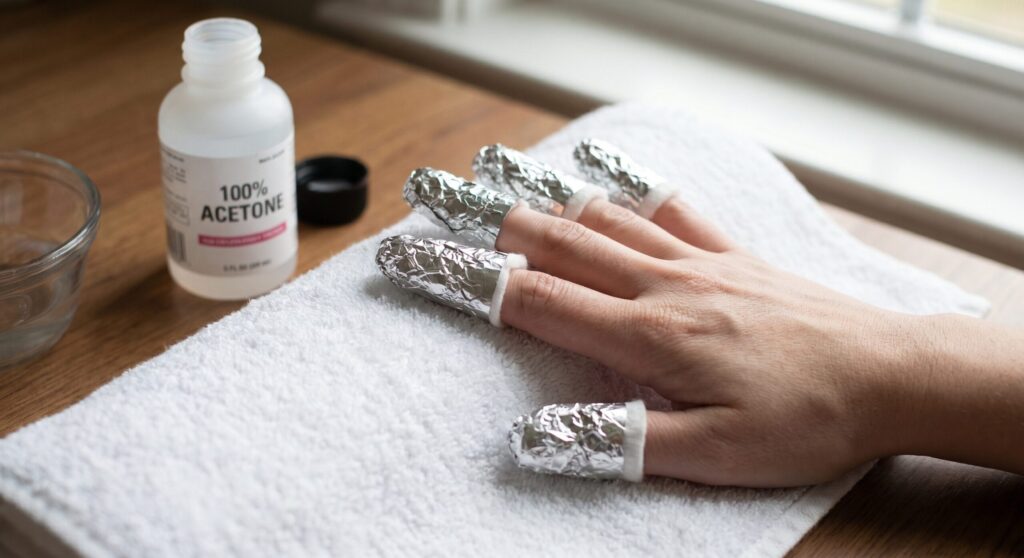
The foil keeps the acetone from evaporating and holds the cotton in place.
Step 4: Wait 15–20 Minutes
This is the hardest part — being patient. Let the acetone do its work.
- Don’t unwrap early to check every few minutes
- Sit somewhere warm if possible — warmth helps acetone work faster
- If you feel slight warmth or tingling, that’s normal
- If you feel pain or burning, remove immediately and rinse
Step 5: Remove the Foil and Gently Push Off the Gel
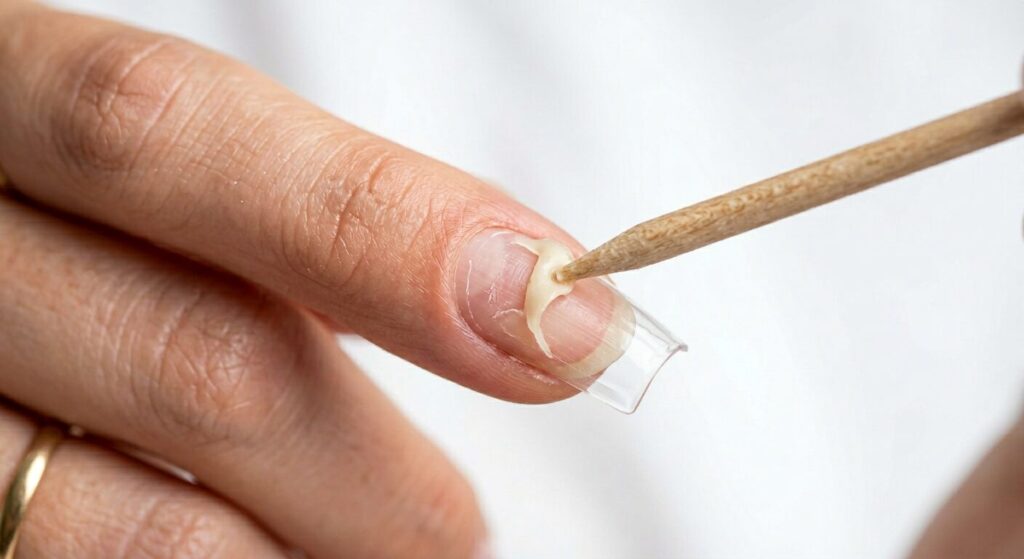
After 15–20 minutes, remove the foil wraps one finger at a time.
- The gel should look soft, bubbly, or lifted
- Use a cuticle pusher or orangewood stick to gently push the gel off
- Push from the cuticle area toward the tip
- Be gentle — if the gel resists, rewrap that finger for 5 more minutes
Important: Never scrape or force the gel off. If it’s not sliding off easily, it needs more soaking time.
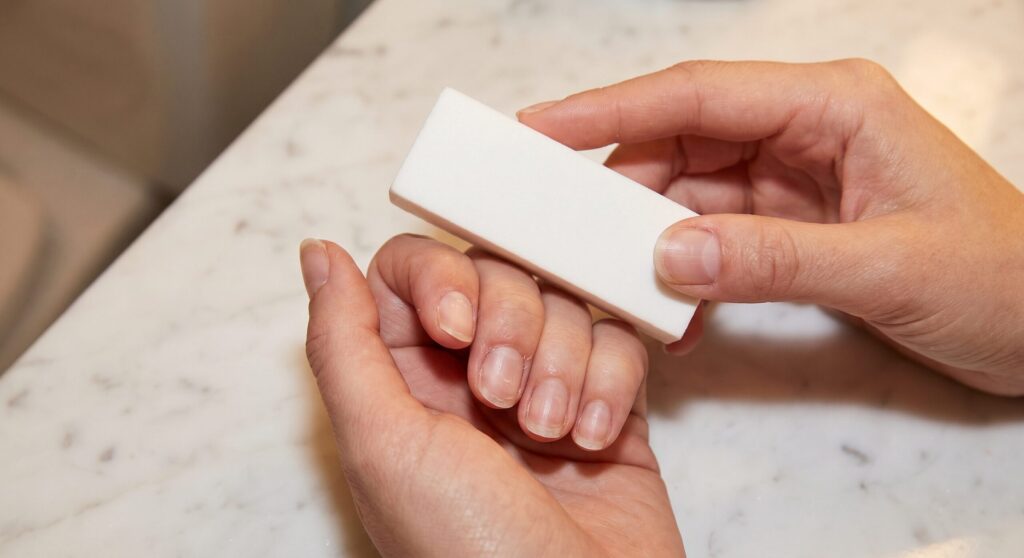
Step 6: Buff and Smooth
After all the gel is removed, your nail surface may feel slightly rough or have small residue spots.
- Use a fine nail buffer to gently smooth the surface
- Don’t over-buff — one or two light passes is enough
- Your nails may look a little thin or matte — that’s normal
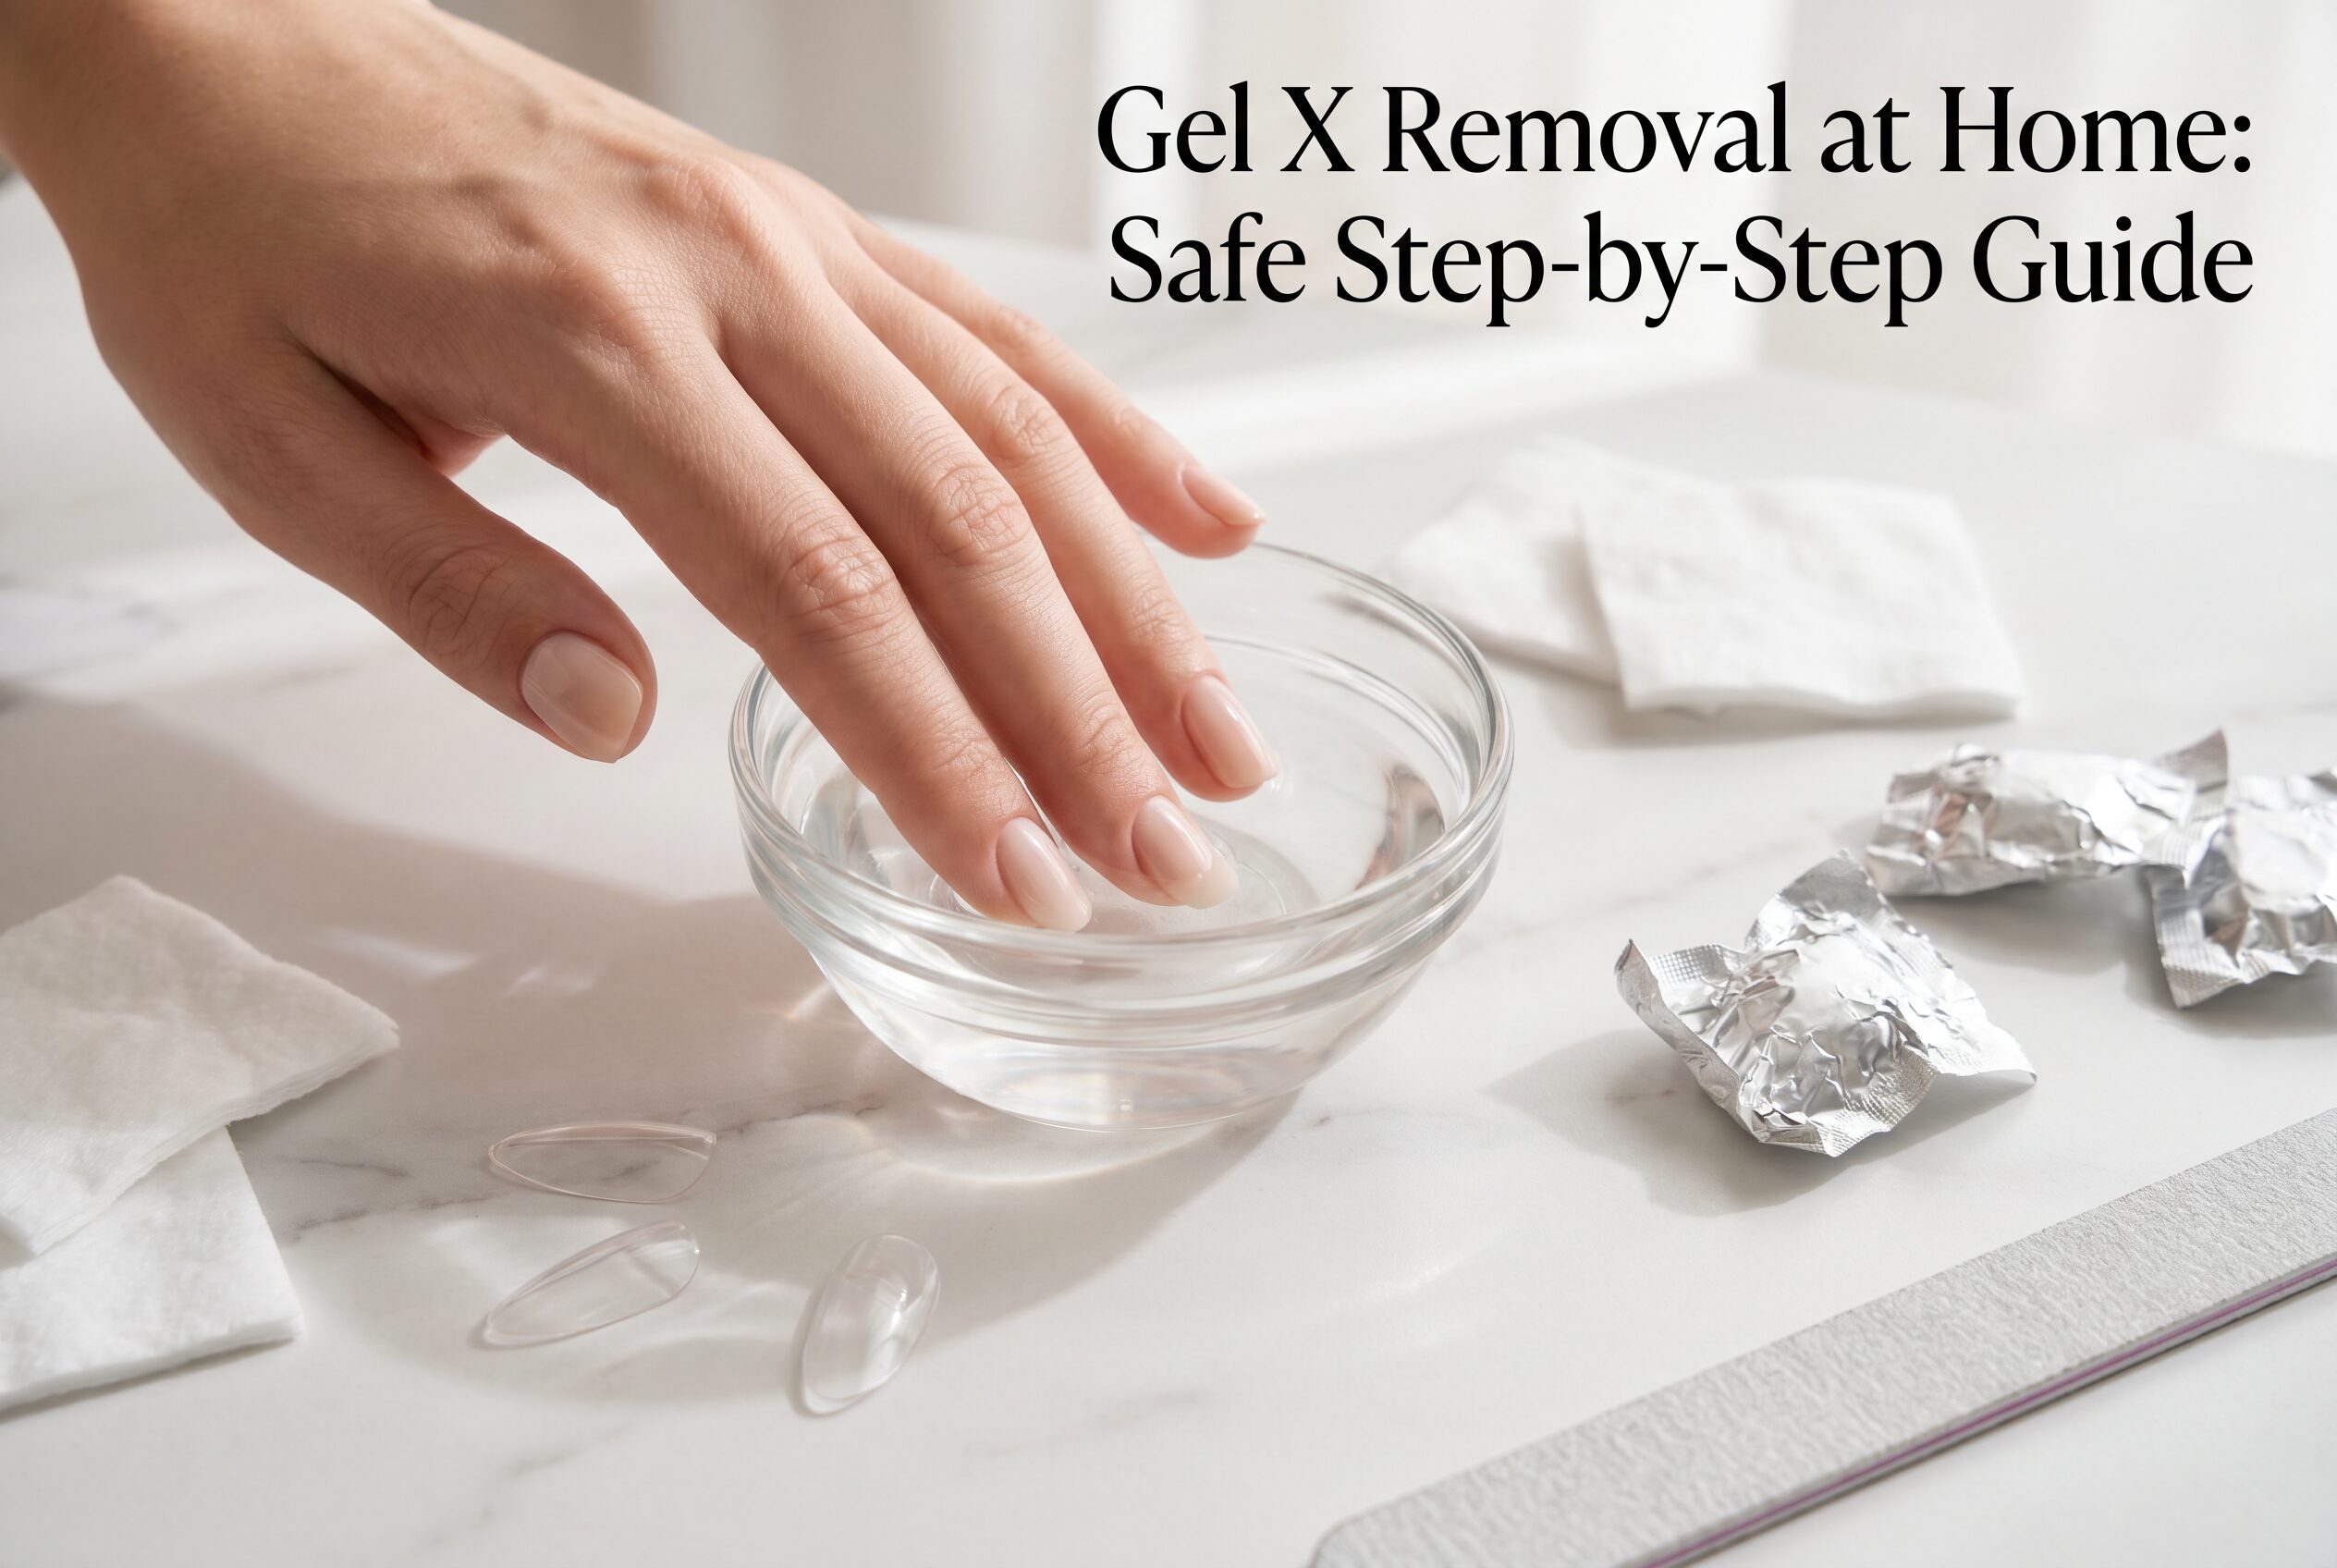
Alternative Method: Bowl Soak
If you don’t want to use foil wraps, you can also soak your nails directly in a bowl of acetone.
- Pour enough 100% acetone into a small glass bowl to cover your nail tips
- File the top layer first, just like with the foil method
- Soak fingertips for 15–20 minutes
- Gently push off softened gel with a stick
This method works well but uses more acetone and can dry out the skin around your nails more. Apply cuticle oil generously afterward.
What to Do After Removing Gel X Nails
After gel x removal at home, your natural nails need some care. The acetone and removal process can leave them feeling dry, thin, or sensitive.
Hydrate Immediately
Right after removal, your nails and cuticles will be dehydrated from the acetone.
- Wash hands with gentle soap
- Apply cuticle oil to every nail
- Massage for 30 seconds per nail
- Follow with a rich hand cream
Let Your Nails Breathe
Give your nails at least 1–2 weeks off before applying any new set.
- No gel, no acrylics, no dip powder during this time
- Keep nails natural and short
- Focus on oil and moisture daily
Use a Nail Strengthener if Needed
If your nails feel very thin or flexible after removal, a strengthening treatment can help.
- Apply a keratin or calcium-based strengthener
- Use it every other day for a week
- Stop once nails feel firmer
Watch for Damage Signs
After removal, check your nails for any issues.
- White spots usually grow out on their own
- Peeling or flaking means you need more moisture
- Pain or redness near the cuticle should be checked by a doctor
If your nails also have ridges after removal, read this guide on what causes ridges in fingernails and how to fix them.
If your nails are splitting, this post on nails splitting down the middle can help too.
image 3
Common Gel X Removal Mistakes to Avoid
These mistakes can turn a simple removal into a nail disaster. Avoid them every time.
Peeling or Popping Off Gel X Tips
This is the number one mistake. Peeling Gel X nails off pulls layers of your natural nail with it.
- Always soak them off properly
- Never force a tip that isn’t ready to come off
- Patience protects your nails
Skipping the Filing Step
Without filing the top layer first, acetone can’t penetrate the gel properly. This means longer soak times and more frustration.
- Always file the shiny top coat before soaking
- Don’t skip this step even if you’re in a hurry
Using Regular Nail Polish Remover
Regular remover doesn’t contain enough acetone to break down gel adhesive.
- Use 100% pure acetone only
- Check the label before buying
Not Wrapping Tightly Enough
If the foil is loose, acetone evaporates quickly and the gel won’t soften properly.
- Wrap foil snugly around each finger
- Make sure cotton stays flat on the nail
Scraping Too Hard
If the gel isn’t soft enough, scraping can damage the nail plate.
- If gel resists, rewrap and wait 5 more minutes
- Use gentle pressure only
- A wooden stick is safer than a metal pusher
Skipping Aftercare
Removing gel and then doing nothing leaves nails dry and vulnerable.
- Always apply cuticle oil after removal
- Moisturize daily for at least a week
- Give nails a break before the next set
Nail Looks to Try After Gel X Recovery
Once your nails recover and feel strong again, here are some trending looks to try next:
- Simple Summer Nails 2026
- Best Summer Vacation Nails 2026
- Simple Short Summer Nail Ideas 2026
- Almond Summer Nail Ideas 2026
- Best Patriotic Nail Designs 2026
- Simple July Nail Ideas – Summer 2026
If you’re thinking about trying press-ons instead of gel next time, check this press-on nail sizing guide for beginners first.
Frequently Asked Questions
How do you remove gel x nails at home safely?
File the top coat, soak cotton in 100% acetone, wrap each finger in foil for 15–20 minutes, then gently push the softened gel off with an orangewood stick.
Can I remove gel x nails without acetone?
Acetone is the most effective method. Some people try warm water soaking, but it usually doesn’t fully dissolve the gel bond. For safe and complete removal, 100% acetone works best.
How long does gel x removal at home take?
The full process takes about 30–40 minutes. Filing takes 5–10 minutes, soaking takes 15–20 minutes, and cleanup and aftercare take another 10 minutes.
Will removing gel x nails damage my natural nails?
Not if you do it properly. Damage happens when people peel, force, or scrape gel off without proper soaking. Following the correct steps protects your nails.
How long should I wait before getting new gel x nails?
Give your natural nails at least 1–2 weeks to recover. During that time, keep them moisturized and free from heavy products.
Can I use a regular nail polish remover to remove gel x?
No. Regular remover doesn’t have enough acetone to break down the gel bond. Always use 100% pure acetone for gel x removal.
What should I do if gel x won’t come off after soaking?
Rewrap the finger in fresh acetone-soaked cotton and foil for another 5–10 minutes. Don’t force it off. If it still won’t budge, you may need to file a bit more of the surface and soak again.
Final Thoughts
Gel x removal at home is simple when you do it the right way. The key is patience — file the surface, soak properly, and never peel or force the tips off.
Your natural nails will thank you.
After removal, take a week or two to moisturize, strengthen, and let your nails breathe before your next manicure. That small break makes a big difference in long-term nail health.
For more nail care guides and trending ideas, visit Latest Nail Ideas.