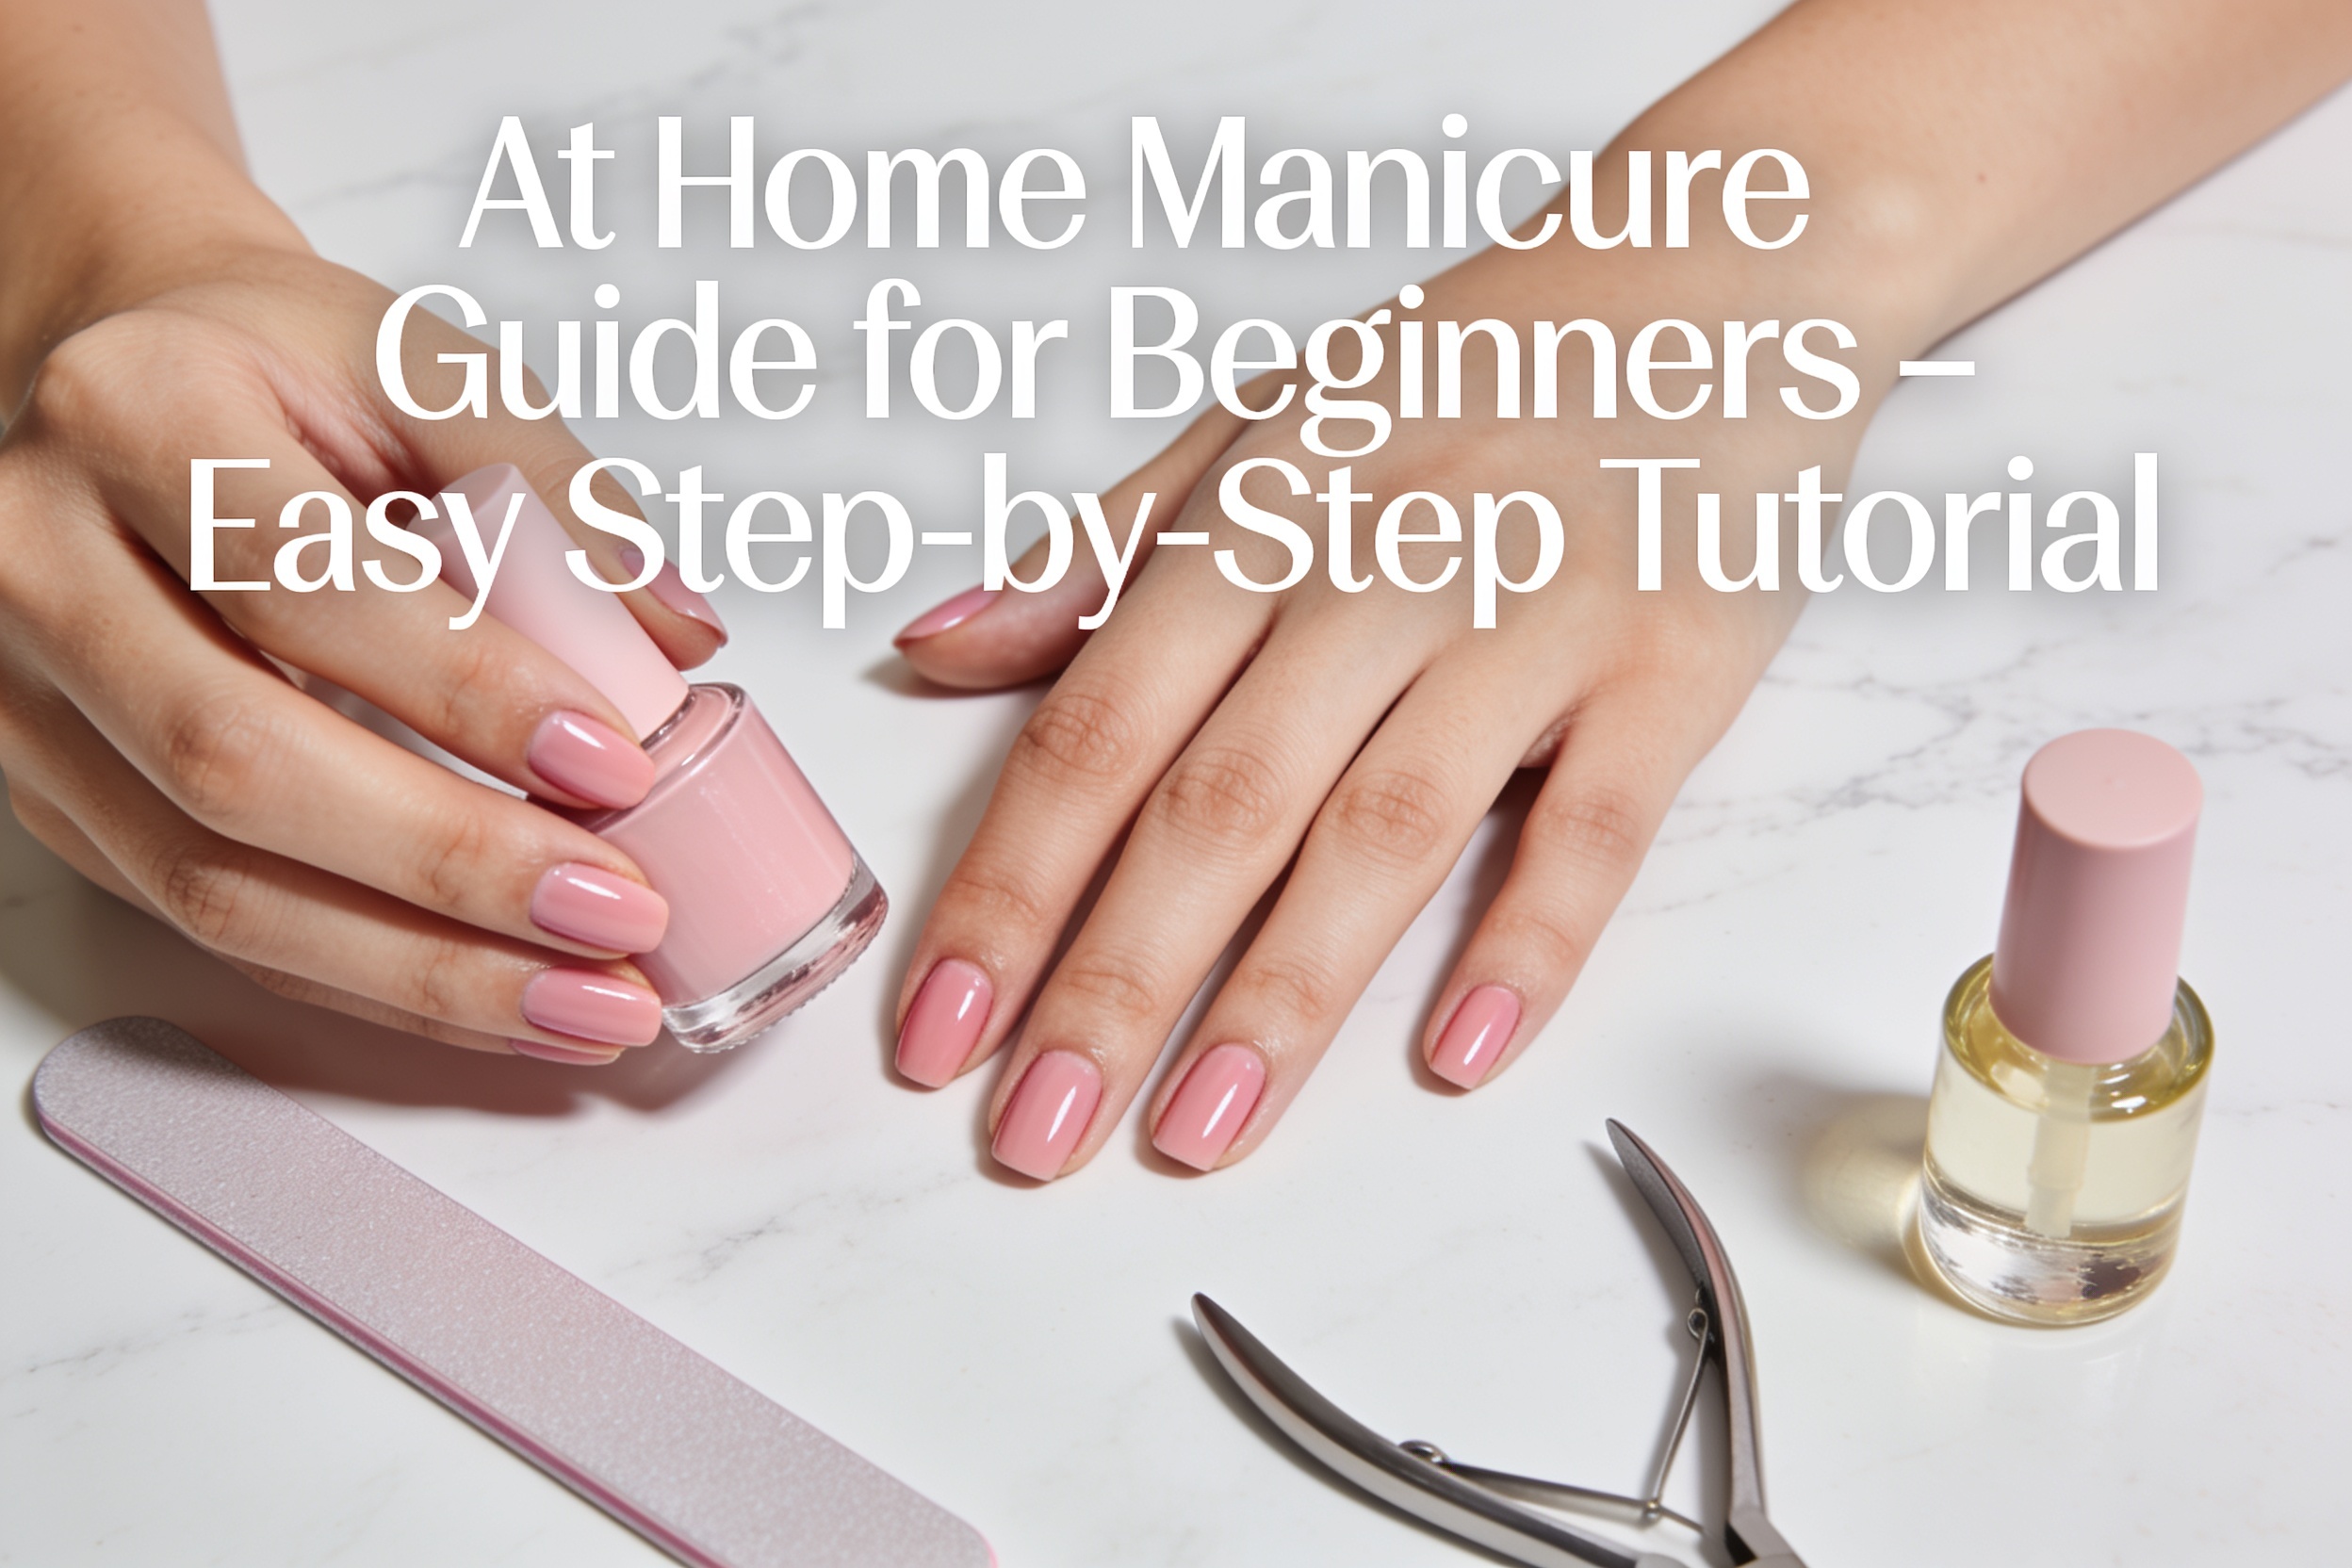
An at home manicure guide for beginners can save you money, help you learn proper nail care, and make your nails look polished without going to a salon.
The secret is not expensive products. It’s the right prep, the right steps, and a little patience.
In this at home manicure guide for beginners, you’ll learn exactly how to prep your nails, paint them neatly, and make your manicure last longer.
Why Nail Prep Matters
Most manicure problems start before the polish even goes on.
If your nails are oily, uneven, or covered with dry cuticle buildup, polish won’t stick properly. That’s why good prep matters so much.
A proper prep routine helps your manicure look smoother, last longer, and chip less.
If your nails are already damaged from gel or peeling, recover them first before painting. This guide on how to fix peeling nails after gel polish can help.
Tools You Need for an At Home Manicure
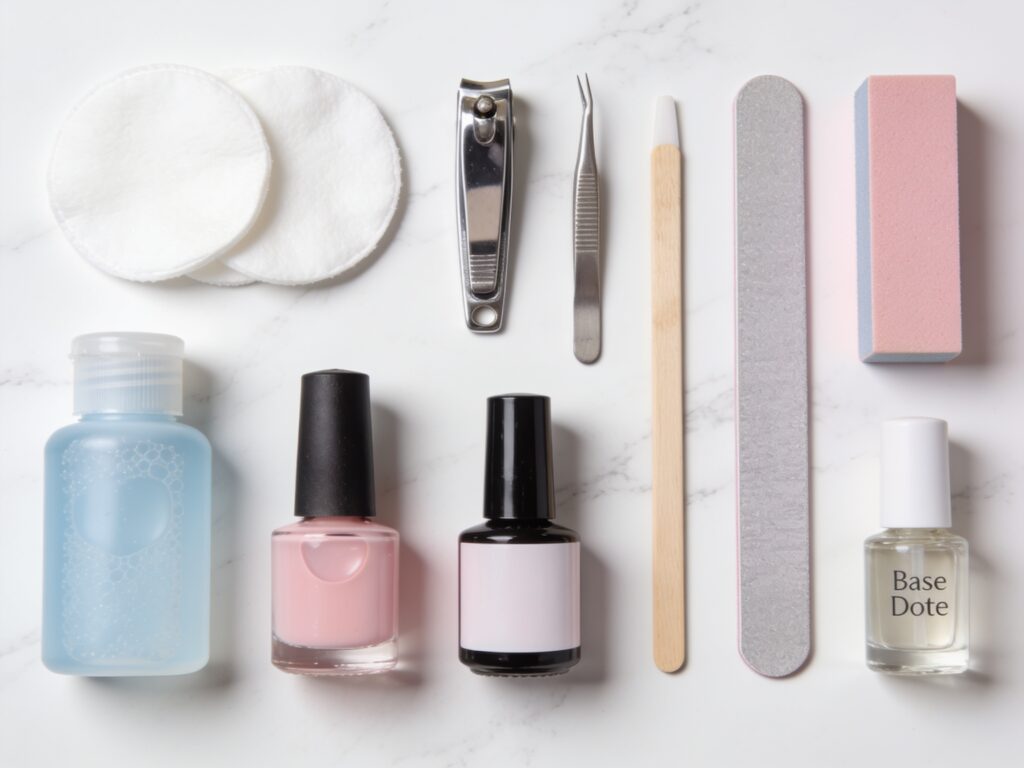
You don’t need a huge nail kit to start. A few basic tools are enough.
Basic Tools List
- Nail polish remover
- Cotton pads
- Nail clippers
- Fine-grit nail file
- Nail buffer block
- Wooden cuticle stick
- Base coat
- Nail polish color
- Top coat
- Cuticle oil
- Hand cream
Optional Extras
These are not required, but they make things easier.
- Nail brush for clean-up
- Quick-dry drops
- Ridge-filling base coat
- Cotton gloves for overnight hand care
If your natural nails are weak, you may also want to read builder gel for natural nails before moving into stronger manicure options.
At Home Manicure Guide for Beginners: Step-by-Step
This is the core of the at home manicure guide for beginners. Follow the steps in order for the best results.
Step 1: Remove Old Polish and Clean Your Nails
Your nails need a clean surface before anything else.
- Remove all old polish completely
- Wipe each nail with remover to clear away oils
- Wash your hands with gentle soap
- Dry your hands fully
Even if you aren’t wearing polish, this step helps remove invisible oil and product buildup.
Step 2: Trim and Shape Your Nails
Nail shape affects how polished your manicure looks.
- Trim nails to your preferred length
- File the edges gently
- File in one direction only
- Smooth any rough or sharp corners
For beginners, round, squoval, or soft square shapes are the easiest to maintain.
If your nails crack or split while filing, read nails splitting down the middle for recovery tips.
Step 3: Soak and Push Back Cuticles
This step makes your manicure look clean without cutting live skin.
- Soak fingertips in warm soapy water for 3–5 minutes
- Pat dry with a towel
- Use a wooden cuticle stick to gently push cuticles back
- Remove only loosened dead skin if needed
Do not aggressively cut your cuticles as a beginner.
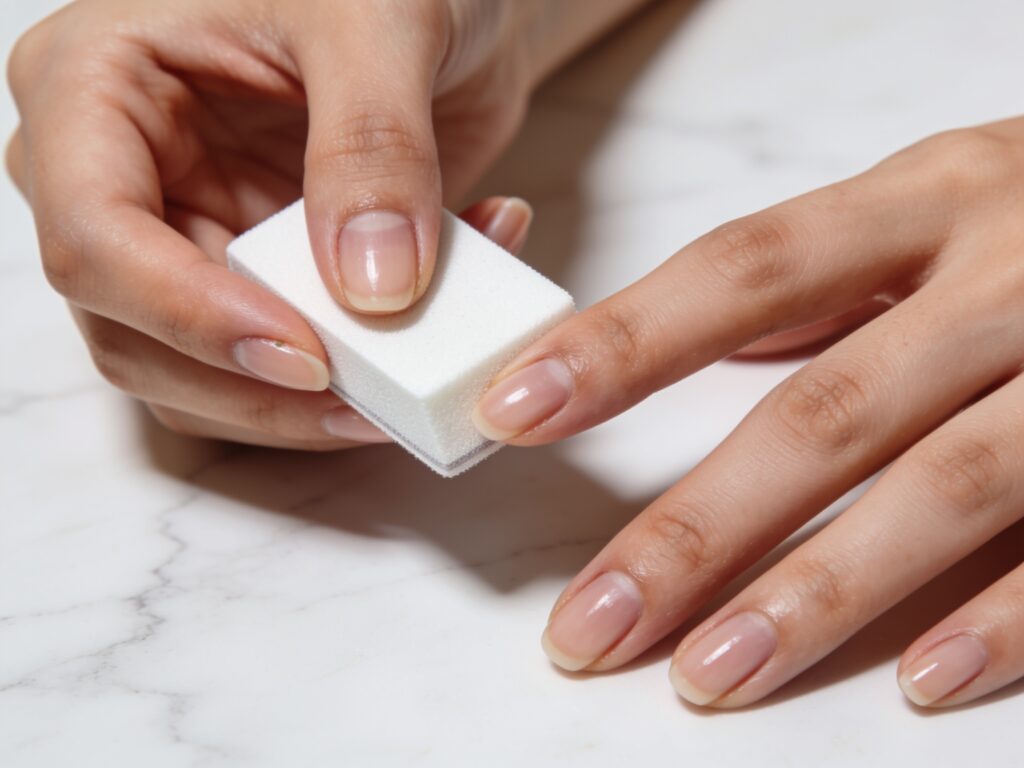
Step 4: Lightly Buff the Nail Surface
Buffing helps smooth the nail plate so polish applies better.
- Use a soft buffer block
- Buff each nail with just 2–3 light strokes
- Don’t over-buff
- Wipe off dust with remover or rubbing alcohol
If you have visible ridges, don’t overdo this step. Instead, read what causes ridges in fingernails and how to fix them.
Step 5: Apply Base Coat
Base coat is what helps your manicure last longer.
- Apply one thin layer to each nail
- Let it dry for about 2 minutes
- Keep the layer light and even
A base coat also helps protect your natural nails from staining.
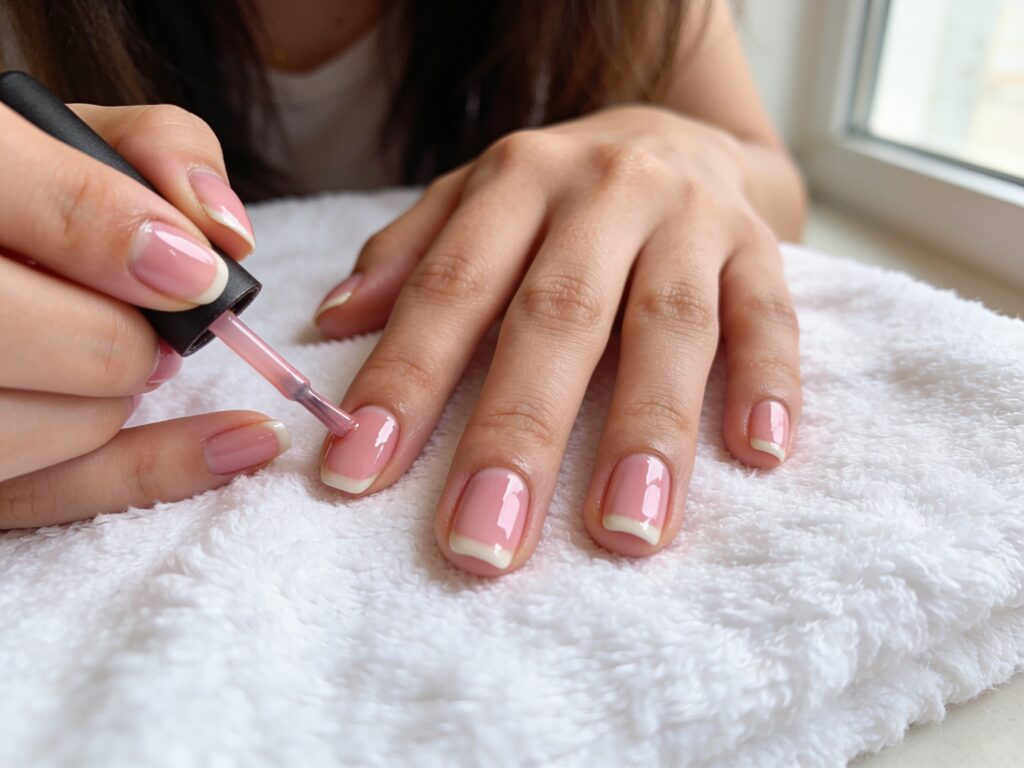
Step 6: Apply the First Coat of Color
This is where most beginners use too much polish.
- Wipe excess polish off one side of the brush
- Place the brush slightly above the cuticle
- Push gently toward the cuticle without touching it
- Pull the brush straight down to the tip
- Paint one stroke in the middle, then one on each side
Keep the first coat thin. Thin coats dry better and look smoother.
Step 7: Apply the Second Coat
The second coat gives fuller color and a cleaner finish.
- Wait 2–3 minutes after the first coat
- Apply another thin, even layer
- Don’t overload the brush
- Keep polish off the skin and cuticle area
Step 8: Apply Top Coat
Top coat seals everything in.
- Apply one smooth layer over the color
- Cap the free edge by brushing the tip
- Let it dry fully
This adds shine and helps reduce chipping.
Step 9: Clean Up the Edges
A little cleanup makes a huge difference.
- Dip a small brush or cotton swab in remover
- Clean any polish that got on the skin
- Work slowly around the cuticle and side walls
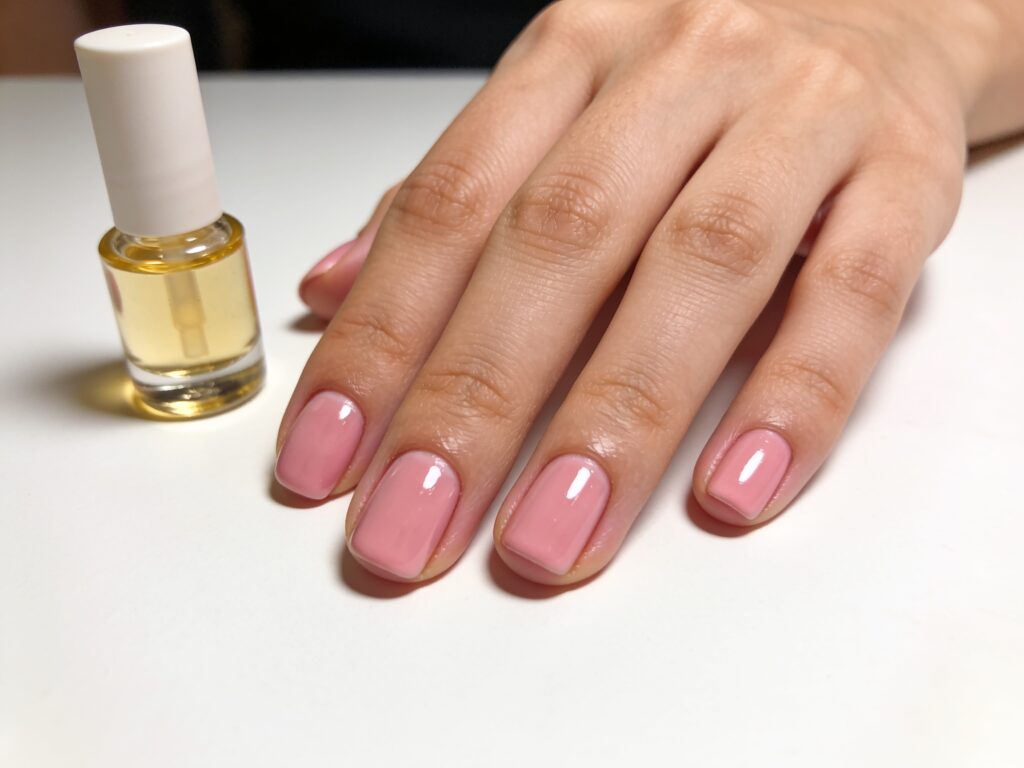
Step 10: Finish with Cuticle Oil
Cuticle oil should go on after your polish is dry.
- Apply 1–2 drops to each nail
- Massage gently into the cuticle area
- Follow with hand cream if needed
This gives your manicure a healthy, polished final look.
Pro Tips for Better Results
These small habits can make a big difference in your final manicure.
Use Thin Coats
Thin layers dry faster and look smoother.
- Thick polish dents easily
- Thin coats build better color
- Two thin coats are better than one thick coat
Roll the Bottle, Don’t Shake It
Shaking creates bubbles.
- Roll the bottle between your hands
- This mixes the polish more smoothly
- Fewer bubbles means a cleaner finish
Leave a Tiny Gap at the Cuticle
Polish that touches skin peels faster.
- Keep a hairline gap near the cuticle
- This helps the manicure look neater too
Work in Good Lighting
A lot of mess comes from poor visibility.
- Sit near a window if possible
- Use bright white lighting at night
- Good lighting helps you avoid touching the skin
Start with Simple Shades
As a beginner, lighter colors are easier.
- Sheer pinks
- Soft nudes
- Pale peach
- Milky white
- Light mauve
They show fewer mistakes than dark or neon shades.
Common Beginner Manicure Mistakes
If your manicure doesn’t last, one of these mistakes is usually the reason.
Skipping Nail Prep
Without prep, polish doesn’t stick well.
- Always clean the nail first
- Remove oil and dust
- Don’t start painting on a dirty nail surface
Painting Thick Coats
Too much polish causes bubbles, smudges, and long drying time.
- Use thin layers
- Let each layer dry before the next one
Not Using Base Coat or Top Coat
These two steps are not optional if you want a long-lasting manicure.
- Base coat = grip and stain protection
- Top coat = shine and chip protection
Painting Over Cuticles
This makes polish lift faster.
- Leave a tiny gap
- Clean mistakes before the polish fully dries
Rushing the Drying Time
Dry-looking polish is not always fully set.
- Give each coat a little time
- Avoid touching anything too soon
- Don’t go wash dishes right after painting
If you prefer low-effort options sometimes, read press-on nail sizing guide for beginners and how to remove press-on nails without damage.
How to Make Your Manicure Last Longer
Once you’ve finished your manicure, the next goal is keeping it fresh.
Reapply Top Coat Every 2–3 Days
This refreshes shine and adds another layer of protection.
- Use one thin coat
- Focus on the tips too
Wear Gloves for Cleaning
Water and chemicals break down polish fast.
- Wear gloves while washing dishes
- Wear gloves while cleaning
- Hot water especially weakens a manicure
Use Cuticle Oil Daily
Hydrated nails are more flexible and chip less easily.
- Apply every night
- Massage it in for a few seconds
- This also keeps your manicure looking neat
Avoid Using Nails as Tools
Don’t use fresh nails to scratch labels, open cans, or scrape things.
- Use actual tools instead
- This reduces chips and breaks
When your nails are healthy, even simple looks like back to school nails 2026, first day of school nail ideas 2026, or gothic summer nails 2026 look much better.
Nail Ideas for Your Next Manicure
Once you get comfortable with the basics, try these looks next:
- Back to School Nails 2026
- First Day of School Nail Ideas 2026
- Gothic Summer Nails 2026
- Simple Short Summer Nail Ideas 2026
- Best Summer Vacation Nails 2026
- Daisy Nail Art Designs
Frequently Asked Questions
What is the best at home manicure guide for beginners?
The best method is to focus on prep first, then apply base coat, two thin coats of color, and top coat in the correct order.
Why does my nail polish chip so fast?
Usually because the nail wasn’t prepped properly, the coats were too thick, or top coat was skipped.
Do I really need a base coat?
Yes. Base coat helps polish stick better and protects nails from staining.
How long should I wait between coats?
About 2–3 minutes is usually enough for thin coats.
Can beginners cut cuticles at home?
It’s better not to. Beginners should gently push them back instead.
How can I make my manicure look cleaner?
Use thin coats, leave a tiny gap at the cuticle, and clean the edges with remover.
What nail shape is best for beginners?
Short round, squoval, or soft square nails are the easiest to maintain and polish neatly.
Final Thoughts
This at home manicure guide for beginners is all about doing the basics well.
You don’t need salon-level tools to get pretty nails at home. You just need good prep, thin polish coats, and a little patience.
The more you practice, the better your results will get — and soon your DIY manicure will look clean, glossy, and professional.
For more nail care guides and nail inspiration, visit Latest Nail Ideas.