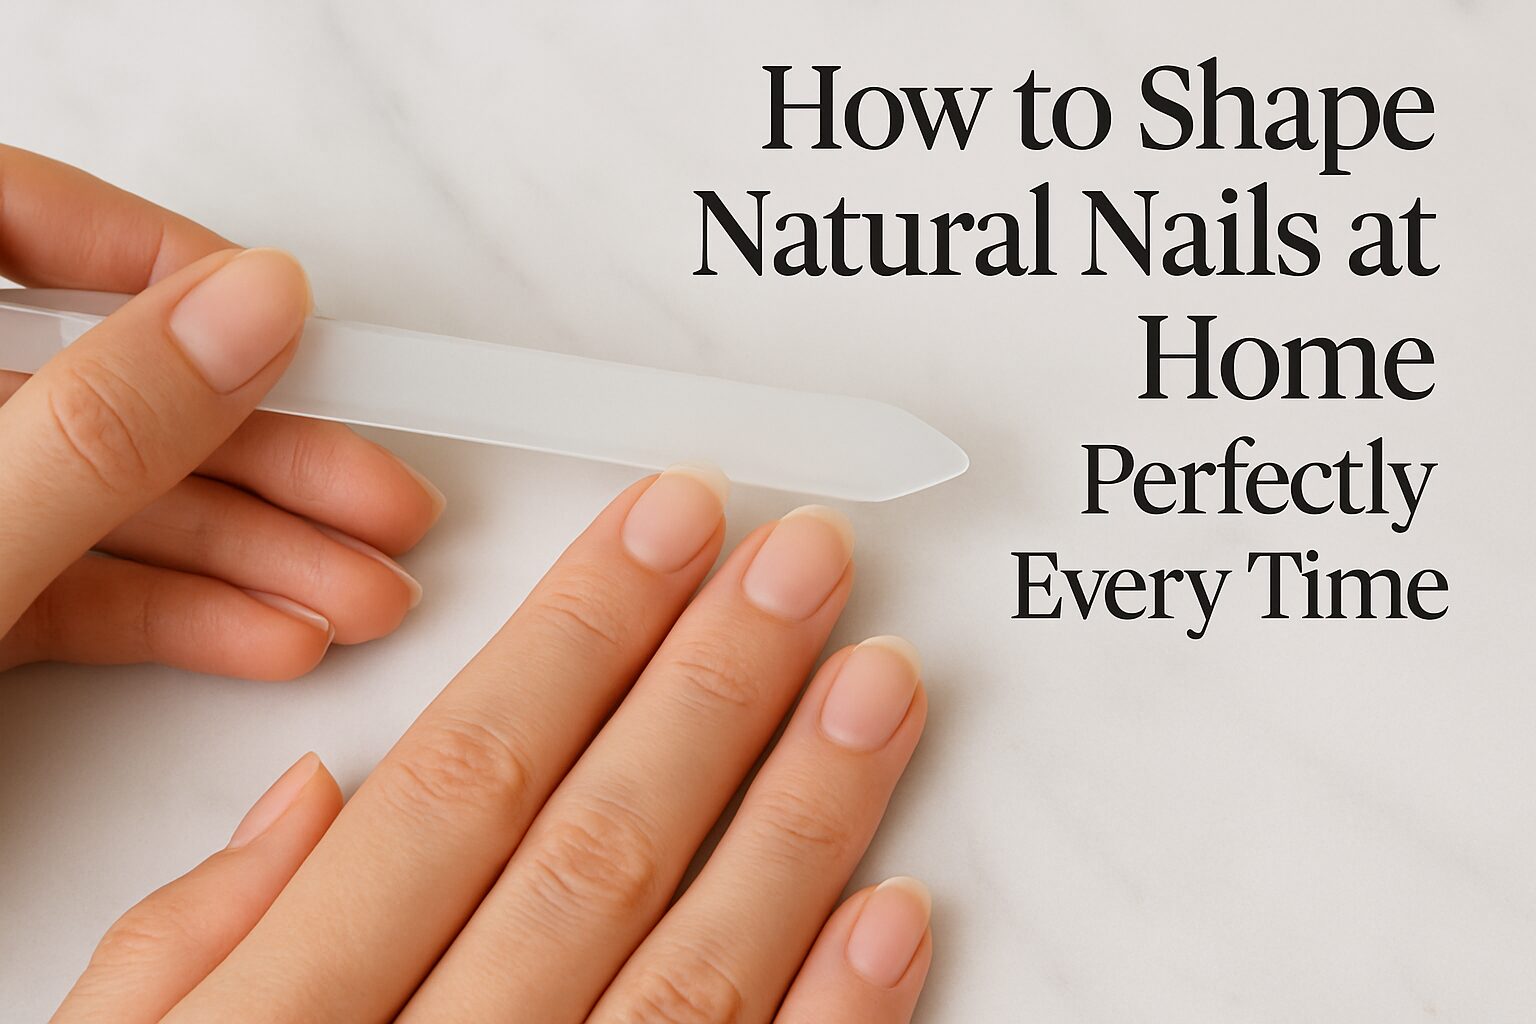
Learning how to shape natural nails at home is the secret to making your DIY manicures look like they were done in a salon.
Most people just grab an old file and saw back and forth until the nail looks somewhat even. Unfortunately, this is the fastest way to cause peeling, splitting, and breakage.
Shaping your nails correctly is about protecting the nail structure while getting a clean, symmetrical look.
In this guide, I’ll show you exactly how to shape natural nails at home step-by-step, how to choose the right shape for your fingers, and what filing mistakes you need to stop making right now.
Choosing the Best Nail Shape for Your Hands
Before you start filing, you need a goal. The right shape can make your fingers look longer, slimmer, and more elegant.
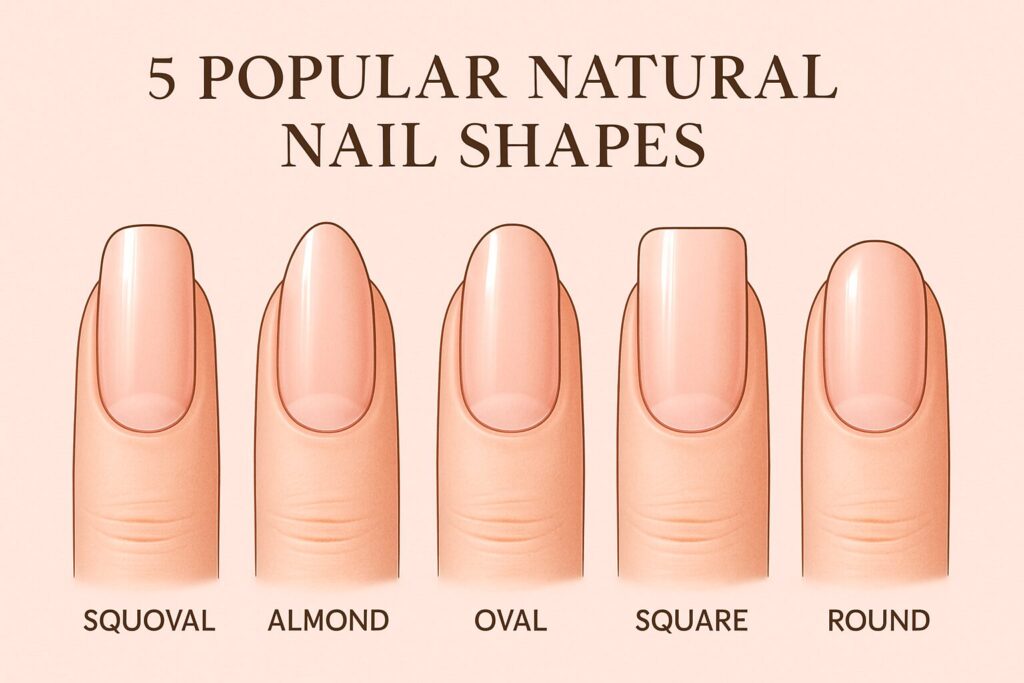
Here is a quick breakdown of the most popular natural nail shapes.
- Squoval (Square-Oval): Flat at the top with rounded corners. The most universally flattering and strongest shape for natural nails.
- Almond: Slim on the sides and rounded at the tip. Makes fingers look longer but requires some natural length to achieve.
- Oval: Similar to almond but softer and blunter at the tip. Great for short, wide nail beds.
- Square: Flat top with sharp corners. Looks very clean but the sharp edges can catch and break easily.
- Round: Follows the natural curve of your fingertip. Best for very short nails and low maintenance.
Pro Tip: Look at the shape of your cuticle line (the base of your nail). Mirroring that shape at the tip of your nail usually looks the most natural.
The Only Tool You Really Need
If you want to know how to shape natural nails at home without causing damage, throw away those cheap, gritty cardboard emery boards.
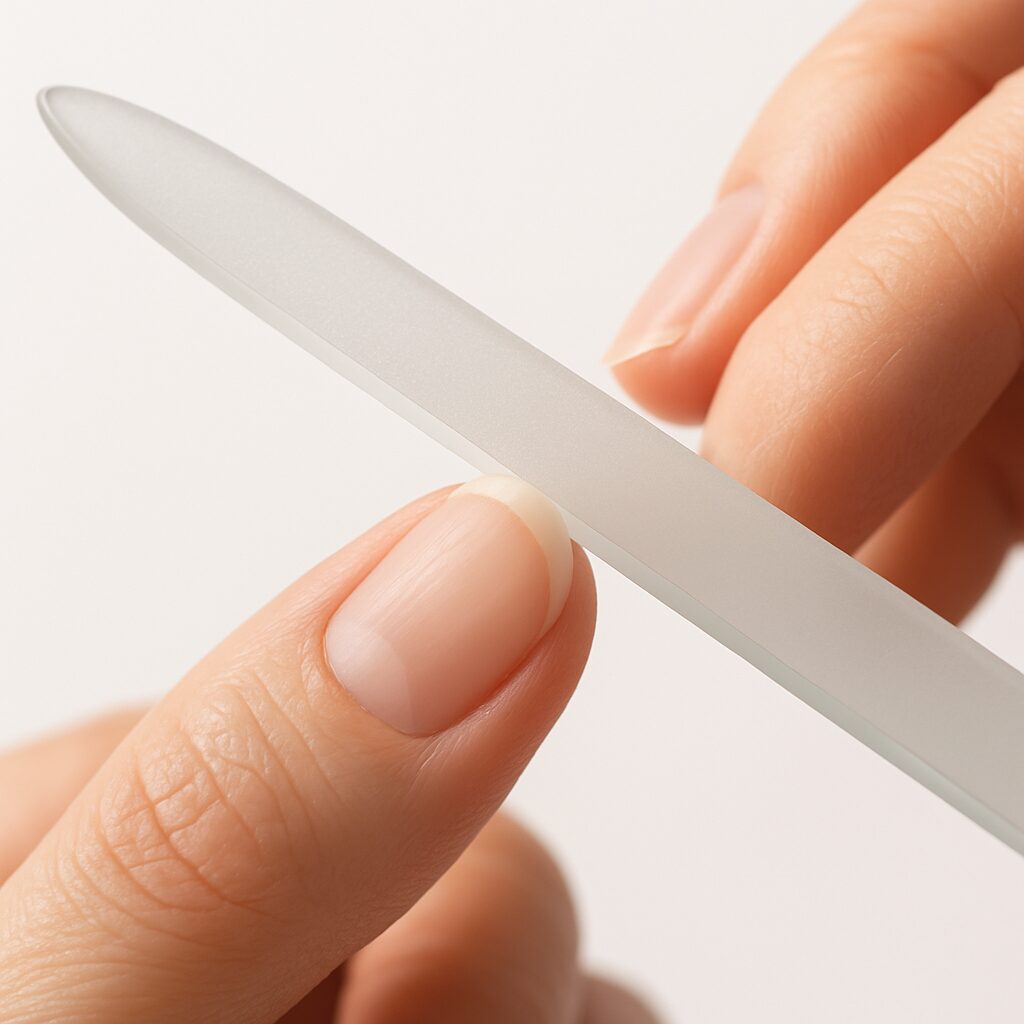
You only need one high-quality tool: a glass (or crystal) nail file.
Why Glass Files Are Better:
- They seal the keratin layers of the nail edge as you file.
- They prevent the nail from splitting or peeling.
- They last forever (just wash them with soap and water).
- They glide smoothly without feeling harsh or gritty.
If you don’t have a glass file, use a very fine-grit file (240 grit or higher). Never use a coarse 100-grit file on your natural nails—those are meant for acrylics.
(If you are currently transitioning away from acrylics, check out our guide on how to remove acrylic nails at home without damage first).
Step-by-Step: How to Shape Natural Nails at Home
Ready to shape? Follow these steps exactly. Do not rush the process.
Step 1: Wash and Dry Your Hands completely
Filing wet nails is a huge mistake. Wet nails are soft, flexible, and prone to tearing.
- Wash hands with gentle soap to remove oils.
- Dry them completely with a towel.
- Wait 5 minutes to ensure the nail plate is totally dry and firm.
Step 2: Clip the Bulk (If Needed)
If you are taking off a lot of length, don’t try to file it all down. It takes too long and stresses the nail.
- Use sharp nail clippers to trim the nail close to your desired length.
- Clip straight across for square/squoval, or clip the corners slightly for almond/oval.
- Leave about 2 millimeters of extra length for filing.
Step 3: Find Your Center Point
Symmetry is the key to a professional look.
- Look at your nail straight on.
- Imagine a tiny dot in the exact center of your nail tip.
- Always file toward that center dot to keep the shape balanced.
Step 4: File in One Direction Only
This is the golden rule of how to shape natural nails at home.
- Place the file under the edge of the nail at a slight angle.
- Sweep the file from the outside corner toward the center.
- Lift the file, bring it back to the corner, and swipe to the center again.
- Never saw back and forth. Sawing shreds the nail layers like a frayed rope.
Step 5: Smooth the Corners
Once the main shape is achieved, you need to soften the edges so they don’t catch on your clothes.
- Gently run the file along the sharp corners using light, downward strokes.
- Run your thumb across the tip of the nail.
- If it feels sharp or jagged, lightly file it until it feels buttery smooth.
Common Filing Mistakes That Cause Breakage
Many people struggle to grow their nails because their filing technique is actually destroying the tips. Avoid these common traps.
Sawing Back and Forth
We mentioned this above, but it bears repeating. Sawing creates micro-tears at the tip of the nail. A few days later, those tears turn into peeling layers and splits. Always file from the outside corner to the center.
Filing the Sides Too Deep
If you file too far into the sidewalls (the sides where the nail meets the skin), you weaken the structural support of the nail.
- Keep the file parallel to the side of your finger.
- Don’t carve into the flesh.
- Deep sidewall filing causes the nail to snap at the stress point.
Using Coarse Files
A 100 or 150-grit file will chew up a natural nail.
- Save coarse files for when you need to dip powder removal at home without damage.
- Always use a 240-grit or glass file for natural nail shaping.
Shaping Weak, Damaged Nails into Pointy Shapes
If your nails are recovering from damage, do not try to file them into a sharp almond or stiletto shape. They do not have the strength to hold it and will snap.
- Keep recovering nails short and squoval.
- Follow a proper nail care routine for natural nails to rebuild their strength first.
- If you are recovering from extensions, read our guide on how to strengthen nails after acrylics.
Post-Shaping Care for Healthy Nails
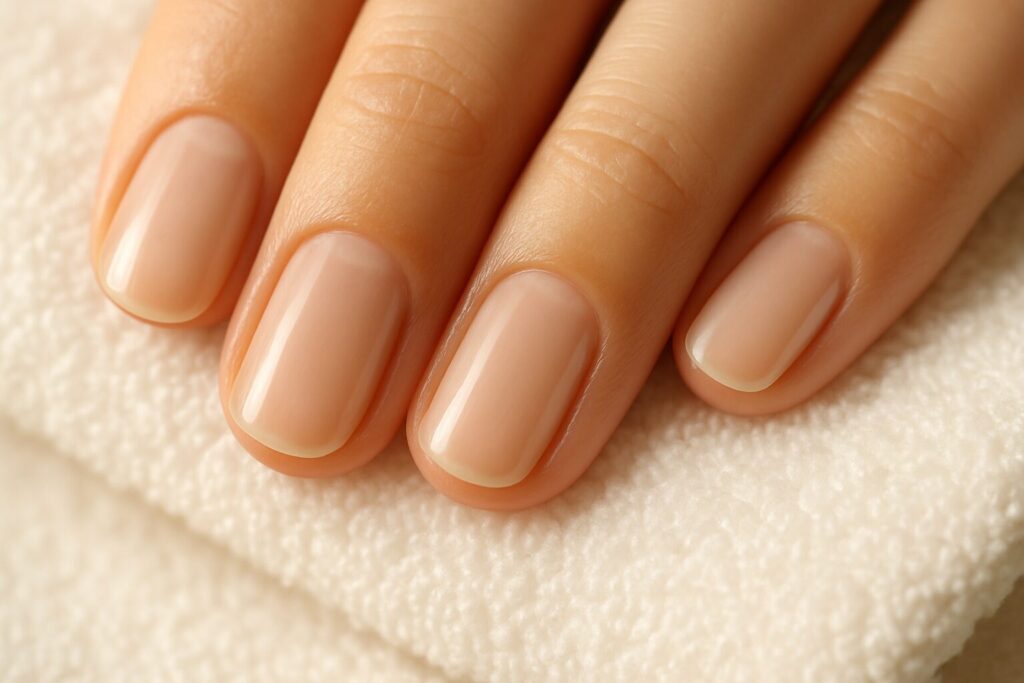
Once you’ve mastered how to shape natural nails at home, you need to seal in the moisture. Filing creates dust and temporarily dries out the nail tip.
Apply Cuticle Oil
Apply a generous drop of cuticle oil to every nail, focusing on the cuticle and the freshly filed tip. Massage it in. This rehydrates the keratin.
Wash and Moisturize
Wash your hands to remove the filing dust. Pat them dry, and immediately apply a rich hand cream.
Consider a Base Coat
If you aren’t painting your nails with color immediately, apply a clear strengthening base coat. This protects your freshly shaped edges from absorbing too much water during daily tasks.
If you struggle to keep your natural nails strong enough to hold a shape, you might want to consider using a how to make press on nails last longer guide to use press-ons while your natural nails grow out underneath.
Nail Ideas for Your Newly Shaped Nails
Now that your natural nails are shaped perfectly, it’s time to show them off! Here are some trending, beautiful designs that look amazing on well-shaped natural nails:
- Polka Dot Nail Ideas 2026
- Back to School Nail Ideas for Teachers 2026
- Leo Nails 2026 (Zodiac Trends)
- Hair Nails 2026 (Texture Trends)
Frequently Asked Questions
What is the best nail shape for weak natural nails?
Squoval (square-oval) or round are the best shapes for weak nails. They eliminate sharp corners that can catch and tear, and they provide the most structural support across the nail bed.
Why do my nails peel after I file them?
Your nails likely peel because you are using a file that is too coarse, or you are sawing back and forth. Switch to a glass file and only file in one direction (corner to center).
Should I cut my nails or just file them?
If you are only removing a tiny bit of length, just file them. If you are taking off a significant amount of length, clip them first and then use the file to refine the shape.
Is a glass nail file really better?
Yes. Glass files are much gentler on natural nails. They seal the edge of the nail, preventing water from seeping in and causing the nail layers to separate and peel.
How often should I shape my natural nails?
You should only file your nails when you need to adjust the length or fix a snag. Filing too often (more than once a week) can weaken the tips.
Final Thoughts
Mastering how to shape natural nails at home is one of the most basic but important skills in nail care.
It all comes down to using the right tool (a glass file) and the right technique (filing in one direction). Once you stop sawing back and forth, you will notice a massive drop in how often your nails split or peel.
Take your time, check your symmetry, and always follow up with hydration. Perfectly shaped natural nails are the ultimate sign of a healthy, clean beauty routine!
For more nail care guides and the latest design trends, keep exploring Latest Nail Ideas.