Press on nail sizing guide for beginners is one of the most important things to learn before applying press-on nails. If your press-ons pop off quickly, look too wide, feel uncomfortable, or lift at the edges, the problem is usually the size — not just the glue.
Press-on nails can look salon-quality when they fit properly. But if they are too big or too small, they can look unnatural and may not last long.
In this press on nail sizing guide for beginners, you’ll learn how to measure your nails, read a size chart, choose the right fit, adjust nails when you’re between sizes, and avoid the most common beginner mistakes.
Why Press-On Nail Sizing Actually Matters
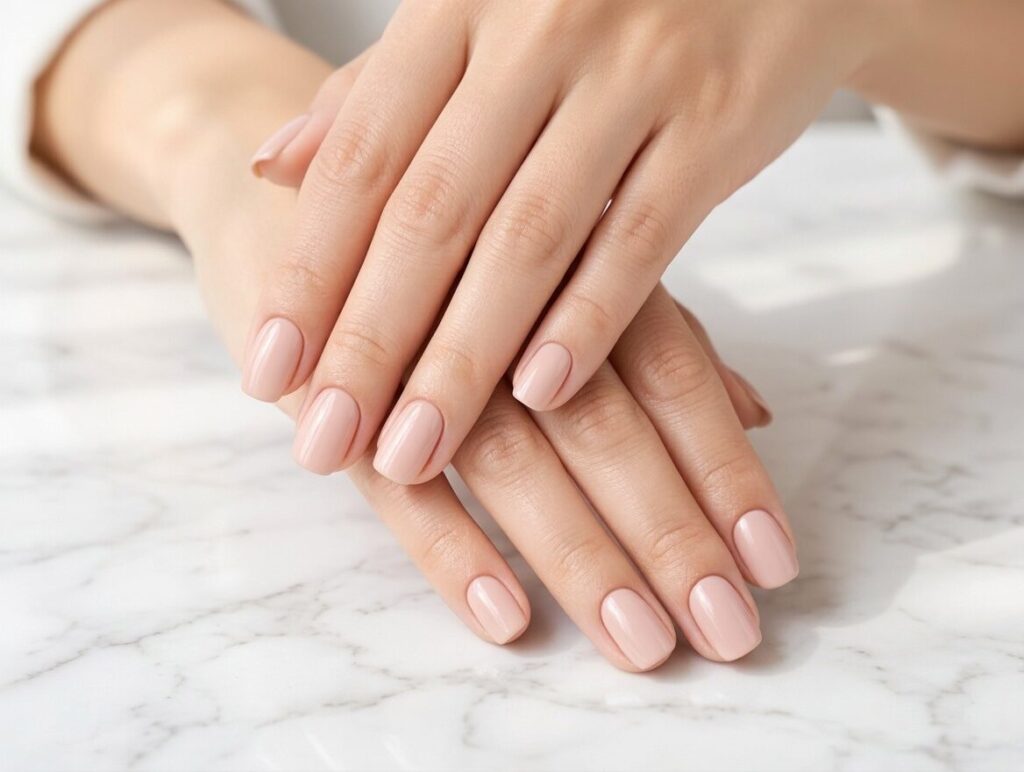
Sizing affects how your press-ons look, feel, and last. A properly sized press-on should sit flush against your natural nail without hanging over the sides or leaving visible gaps.
If the nail is too big, it may overlap your skin and catch on hair, clothes, or fabric. That extra pressure can cause the nail to lift or pop off.
If the nail is too small, it won’t cover your full nail bed. The edges of your natural nail may show, and the adhesive won’t have enough surface contact to hold well.
The right size gives you:
- A cleaner, more natural look
- Better comfort
- Stronger adhesive hold
- Less lifting around the edges
- Longer wear time
Press On Nail Sizing Guide for Beginners: What You Need Before Measuring
Before measuring, gather a few simple tools. You don’t need anything expensive.
- A press-on nail kit
- Flexible measuring tape or thin paper strip
- Ruler with millimeters
- Pen or marker
- Nail file
- Good lighting
- Clean, dry natural nails
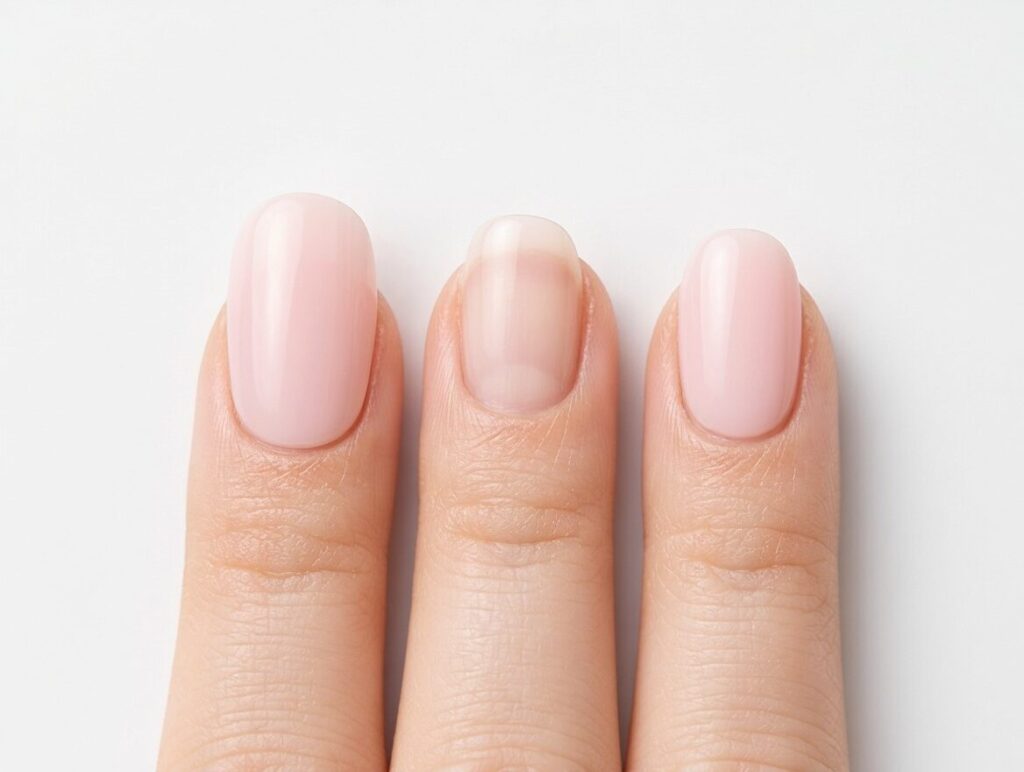
Make sure your nails are free from oil, old polish, lotion, and dust before you measure.
Content Retailed Post
How to Treat Extremely Dry Cuticles at Home – 7 Proven Remedies
How to Measure Your Nails for Press-Ons
This is the most important part of the press on nail sizing guide for beginners. Take your time here because even a small measurement mistake can change the fit.
Step 1: Clean and Prep Your Natural Nails
Your natural nail should be fully visible before measuring. Old polish, oils, or cuticle buildup can affect accuracy.
- Wash and dry your hands
- Remove old polish or gel residue
- Push back cuticles gently
- Make sure each nail is clean and dry
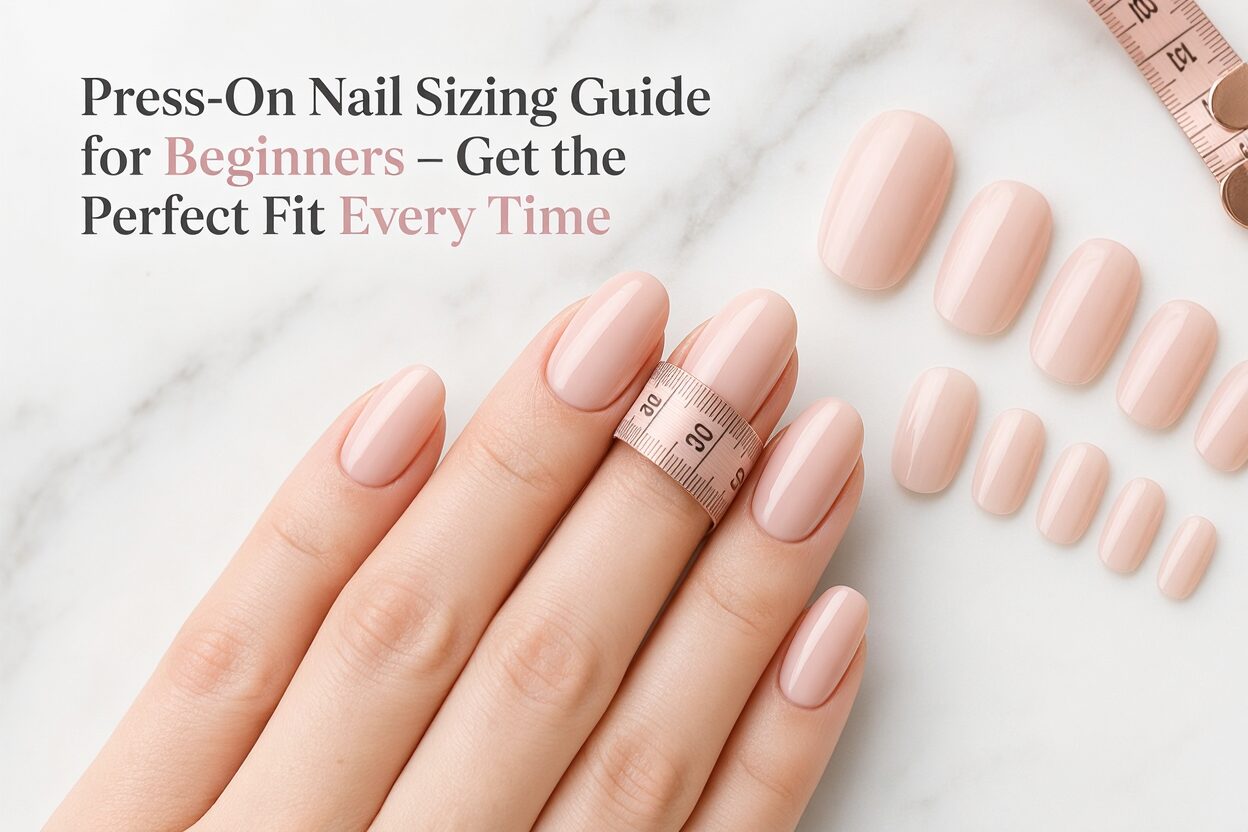
Step 2: Measure the Widest Part of Each Nail
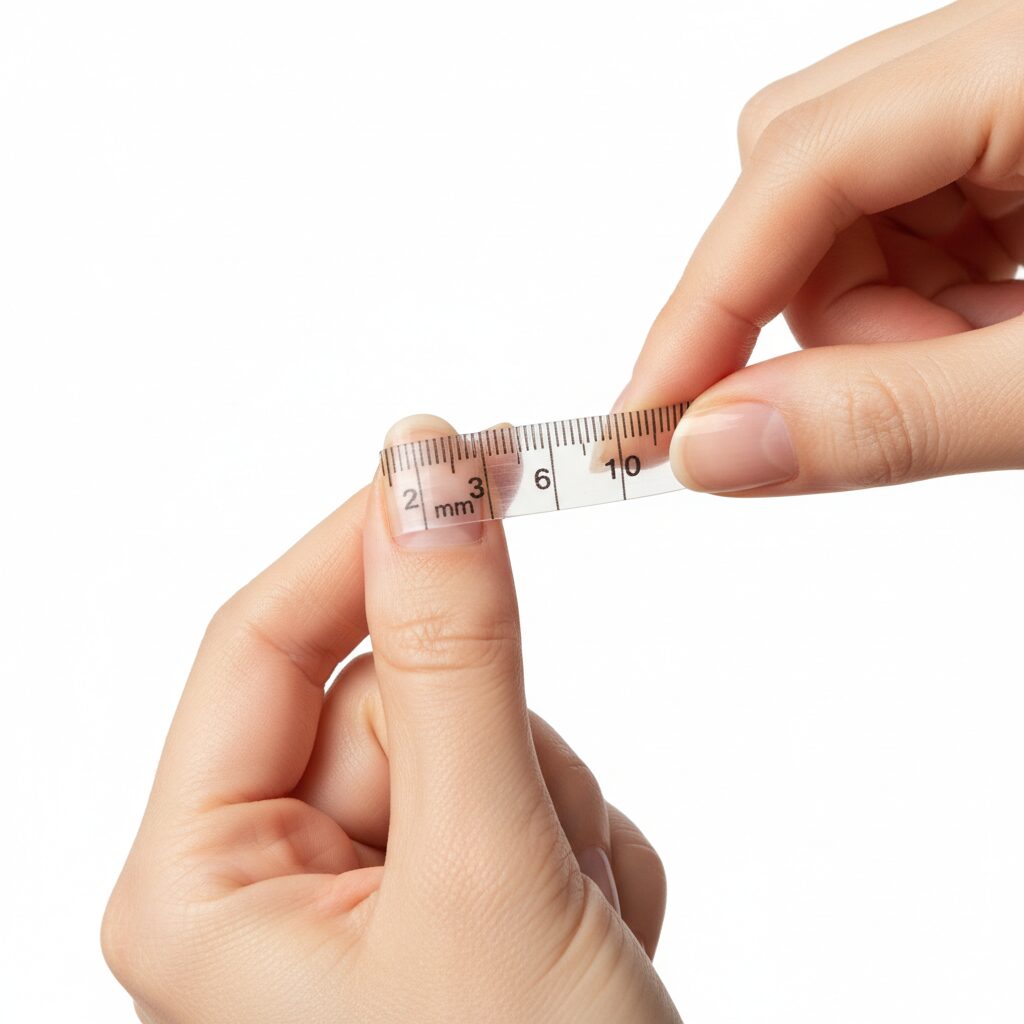
The width of your nail matters most. Measure across the widest part of the nail bed, usually near the middle.
- Place flexible measuring tape across the nail
- Follow the natural curve of the nail
- Note the width in millimeters
- If using paper, mark both edges and measure the paper with a ruler
Measure all 10 nails separately. Your right and left hand may not have identical nail sizes.
Step 3: Match Measurements to the Size Chart
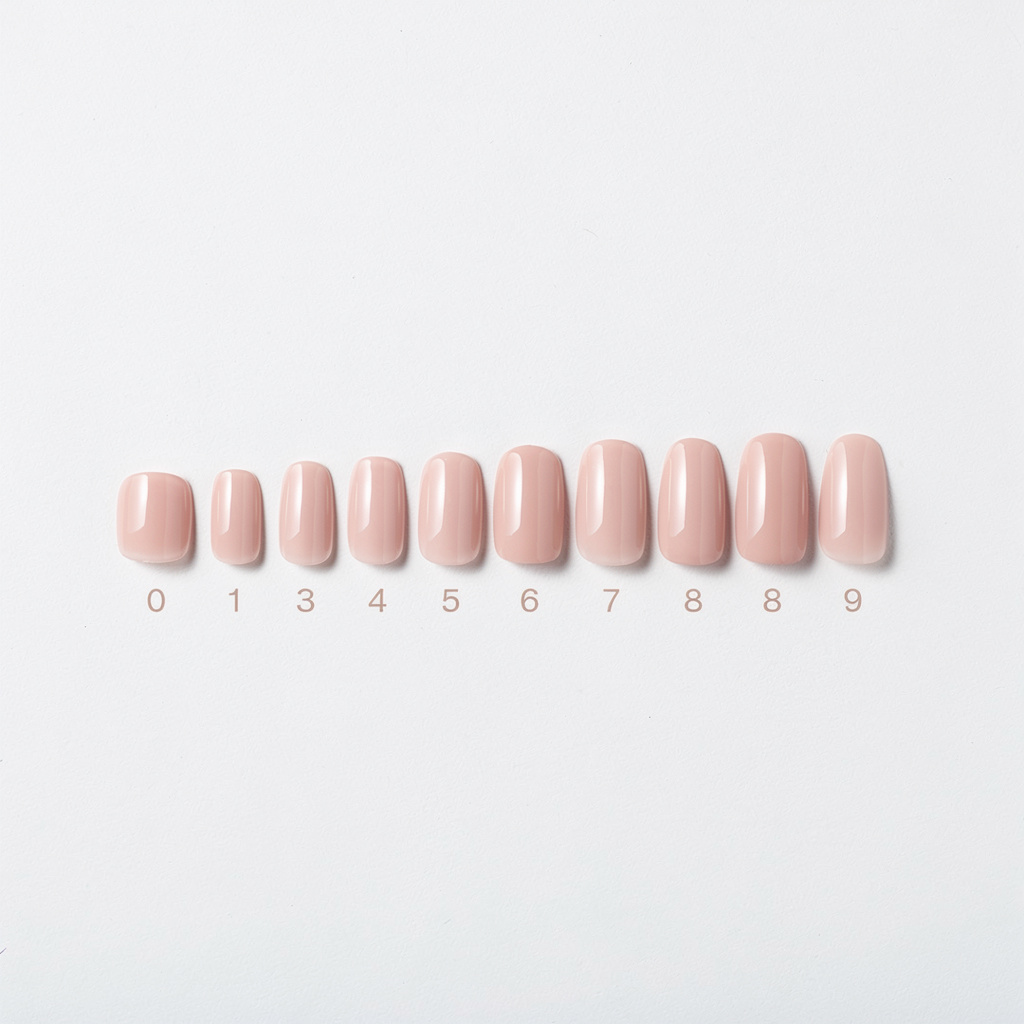
Most press-on kits use numbered sizes, often from 0 to 9, where 0 is usually the largest and 9 is the smallest.
Use a simple chart like this to keep track:
| Finger | Width | Press-On Size |
|---|---|---|
| Left Thumb | 17mm | Size 1 |
| Left Index | 14mm | Size 3 |
| Left Middle | 15mm | Size 2 |
| Left Ring | 13mm | Size 4 |
| Left Pinky | 11mm | Size 6 |
| Right Thumb | 17mm | Size 1 |
| Right Index | 14mm | Size 3 |
| Right Middle | 14.5mm | Size 3 |
| Right Ring | 13mm | Size 4 |
| Right Pinky | 11mm | Size 6 |
These are only examples. Your sizes may be different.
Step 4: Dry Fit Before Applying Glue
Dry fitting means placing the press-on nail on your natural nail without glue. This lets you check the fit before committing.
- Does it cover your nail from side to side?
- Is there any overhang?
- Does it sit close to the cuticle?
- Does it match your natural nail curve?
- Does it feel comfortable?
If the nail feels too tight, too wide, or lifts at the sides, adjust before applying.
Understanding Press-On Nail Size Charts
Press-on nail sizes are not always the same across brands. A size 3 from one brand may be slightly different from size 3 in another brand.
Here is a general sizing guide:
| Size Number | Approximate Width | Usually Fits |
|---|---|---|
| 0 | 17–18mm | Wide thumbs |
| 1 | 16–17mm | Average thumbs |
| 2 | 15–16mm | Middle or index |
| 3 | 14–15mm | Index or middle |
| 4 | 13–14mm | Ring finger |
| 5 | 12–13mm | Ring or pinky |
| 6 | 11–12mm | Pinky |
| 7 | 10–11mm | Small pinky |
| 8 | 9–10mm | Very small pinky |
| 9 | 8–9mm | Extra small |
Always check the brand’s own chart if available.
What to Do If You’re Between Sizes
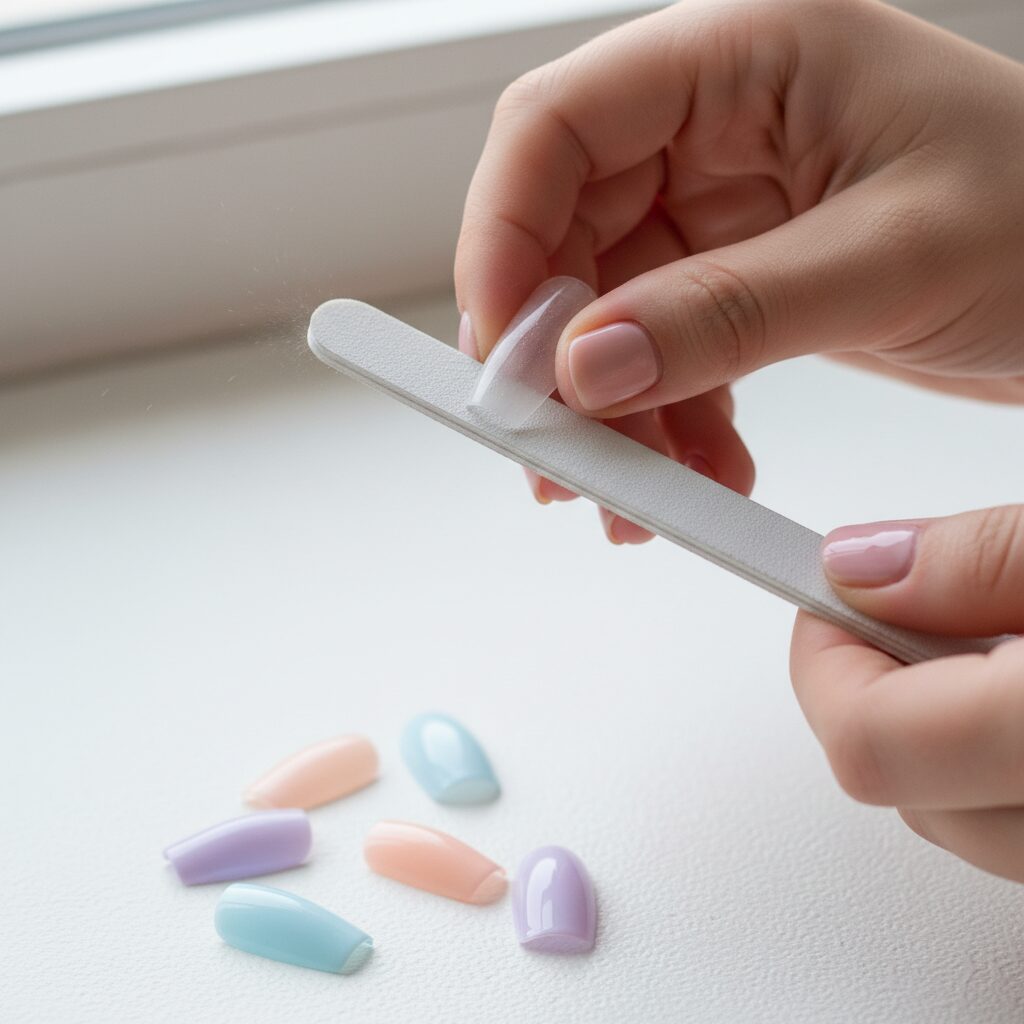
Being between sizes is very common. If one press-on is slightly too small and the next size is slightly too big, choose the bigger one and file it down.
You can make a larger nail smaller, but you cannot make a small nail wider.
- Choose the slightly larger press-on
- Place it on your natural nail
- Mark or notice where it overhangs
- File the side edges gently
- Recheck the fit after every few strokes
Use a fine-grit file and file slowly. Removing too much at once can ruin the shape.
Common Press-On Nail Sizing Mistakes Beginners Make
Most press-on problems come from sizing and prep mistakes. Avoid these if you want your nails to look better and last longer.
Mistake 1: Guessing the Size
Guessing almost always leads to poor fit. Even a 1mm difference can make the nail look too wide or too narrow.
- Measure each nail
- Save your sizes in your phone
- Recheck sizes when trying a new brand
Mistake 2: Using the Same Sizes on Both Hands
Your left and right hands may not match exactly. Your dominant hand may have slightly different nail widths.
- Measure both hands separately
- Don’t assume the same size works on both sides
- Dry fit every nail before applying
Mistake 3: Ignoring Nail Curve
Some people have flatter nails, while others have more curved nail beds. If the press-on curve doesn’t match, the nail may lift.
- Press the nail gently in the center
- Check if the sides lift
- Try another size or brand if the curve feels wrong
Mistake 4: Measuring Before Pushing Back Cuticles
Cuticles can cover part of the nail bed and make your measurement inaccurate.
- Push cuticles back gently first
- Measure only after the full nail bed is visible
- Don’t cut cuticles aggressively
Mistake 5: Applying Without a Dry Fit
Glue should never be the first test. Once glue is applied, fixing the size becomes messy.
- Dry fit all 10 nails first
- Arrange them in order
- File any that need adjustment
- Apply only after everything fits
Pro Tips for the Best Press-On Fit
This part of the press on nail sizing guide for beginners will help make your press-ons look more natural and last longer.
Tip 1: Dry Fit All 10 Nails First
Dry fitting prevents most beginner mistakes. It helps you see which nails need filing or switching before glue is involved.
- Lay out all 10 nails in order
- Test each one without glue
- Compare both hands
- Adjust before applying adhesive
Tip 2: Prep Your Natural Nails Properly
Even a perfectly sized press-on won’t last if your natural nail is oily or dusty.
- Clean nails with rubbing alcohol
- Lightly buff the nail surface
- Push back cuticles
- Keep nails dry before applying
For general nail health, the American Academy of Dermatology recommends keeping nails clean, dry, and properly cared for.
Tip 3: Use the Right Amount of Glue
Too much glue can flood the cuticle area, while too little glue may not hold well.
- Apply a small drop to your natural nail
- Add a small amount to the press-on if needed
- Avoid touching skin with glue
- Press firmly after placing
Tip 4: Apply Pressure Correctly
Pressure helps the adhesive bond evenly across the nail.
- Align the nail near the cuticle first
- Press from the center outward
- Hold for at least 30 seconds
- Avoid water for the first hour if possible
Tip 5: File for a Custom Fit
Filing the side edges can make budget press-ons look more custom.
- File only the sides, not the top design
- Use gentle strokes
- Check the fit often
- Keep both hands balanced
Tip 6: Keep Spare Sizes Organized
If one nail pops off, you’ll want to replace it quickly.
- Save your nail size list
- Keep extra nails in a small pouch
- Label sizes if possible
- Store glue safely
Once you get your sizing right, you can try designs like simple summer nails, hottest summer nails 2026, or summer vacation nails.
How to Make Press-On Nails Look More Natural
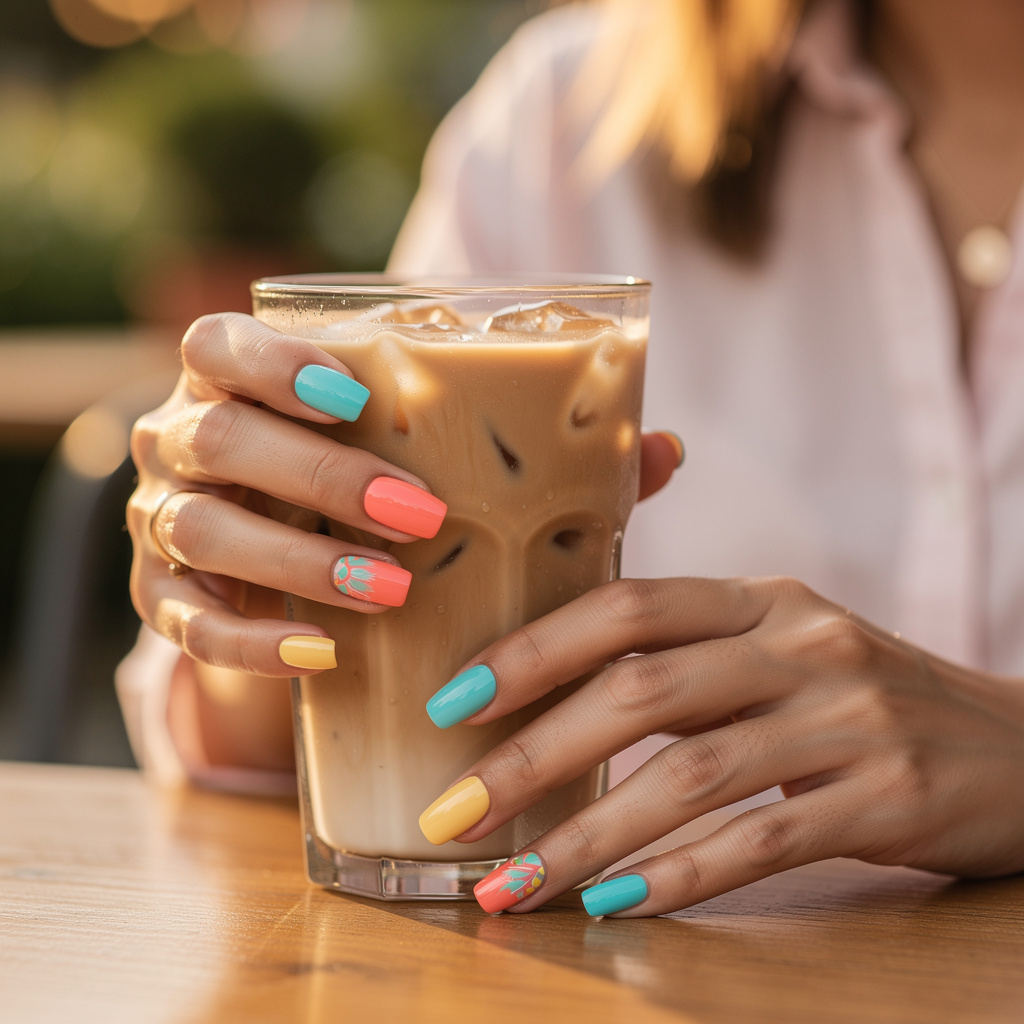
Sizing is the biggest step, but a few small details also help press-ons look salon-quality.
Choose the Right Shape
Pick a shape that works with your natural nail bed. If your nails are short and wide, short square or oval press-ons may look more natural than very long coffin nails.
Blend the Cuticle Area
The press-on should sit close to the cuticle but not on top of it. If the base looks too sharp or wide, gently file the bottom edge before applying.
Avoid Oversized Thumbnails
Thumbnails are the easiest place to spot poor sizing. If the thumb nail hangs over the sides, it will look obvious.
Use Shorter Lengths as a Beginner
Short or medium press-ons are easier to apply, easier to wear, and less likely to pop off than very long sets.
If you need design inspiration, check these nail ideas:
- Simple Short Summer Nail Ideas 2026
- Graduation Nail Ideas 2026
- Prom Nail Ideas 2026
- Daisy Nail Art Designs
- Black and Gold Baddie Nail Ideas
Frequently Asked Questions
What is the best press on nail sizing guide for beginners?
The best method is to measure every nail in millimeters, compare the measurements to the brand’s size chart, dry fit all 10 nails, and file larger sizes when needed.
How do I know my press-on nail size?
Measure the widest part of your natural nail in millimeters and match it to the press-on nail size chart.
Should press-on nails be slightly bigger or smaller?
If you’re between sizes, choose slightly bigger and file the sides down. A nail that is too small cannot be fixed properly.
Why do my press-on nails keep popping off?
Common reasons include wrong sizing, oily nail surface, poor prep, too little pressure during application, or using nails that don’t match your natural nail curve.
Do press-on nail sizes vary by brand?
Yes, sizes can vary between brands. Always check the size chart for the specific brand you’re using.
Can I file press-on nails to fit better?
Yes. You can gently file the side edges to customize the fit. Use a fine-grit file and check the fit often.
Do I need to measure both hands?
Yes. Your left and right hands can have different nail widths, so measure both hands separately.
Final Thoughts
This press on nail sizing guide for beginners gives you the foundation for a better press-on manicure. When the size is right, press-ons look cleaner, feel more comfortable, and last longer.
Take a few minutes to measure your nails, dry fit the full set, and file where needed. That small prep step can make affordable press-ons look much more professional.
Once you know your sizes, applying press-ons becomes faster, easier, and much more reliable every time.
For more nail care tips, beginner guides, and trending nail ideas, visit Latest Nail Ideas.